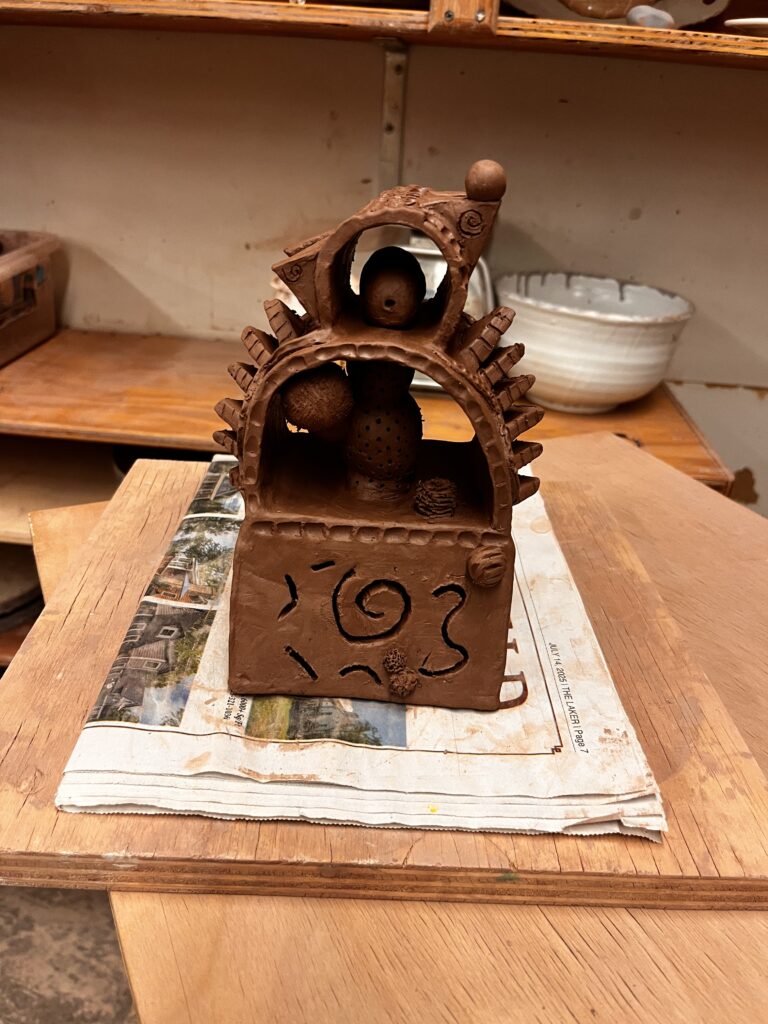
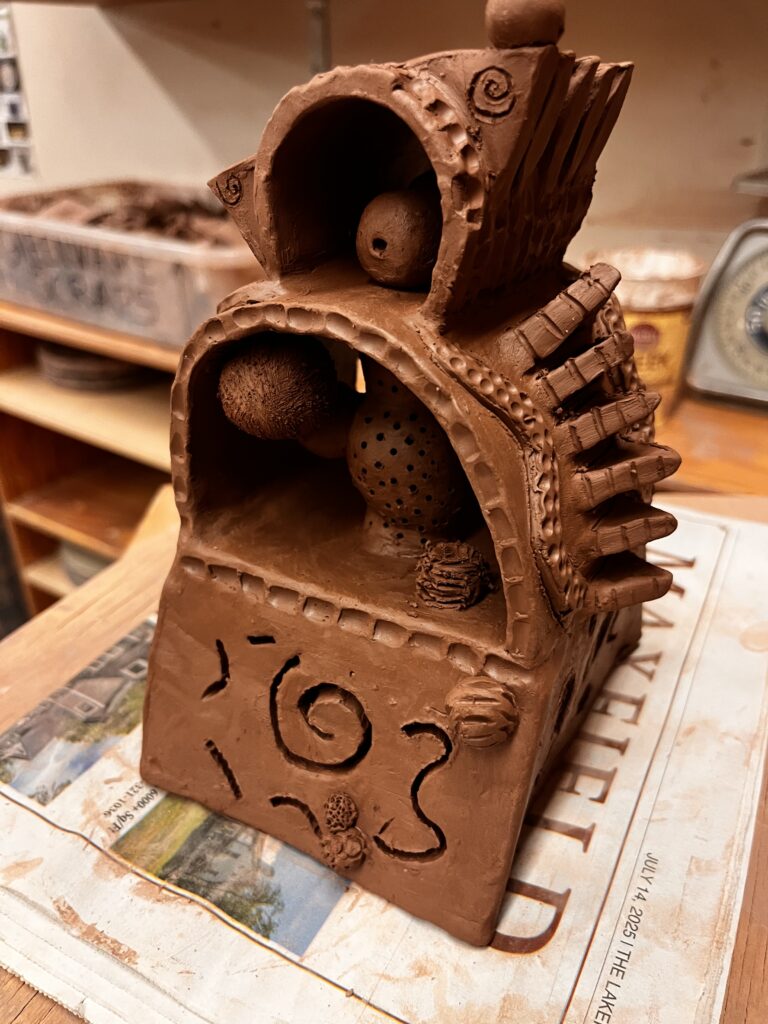
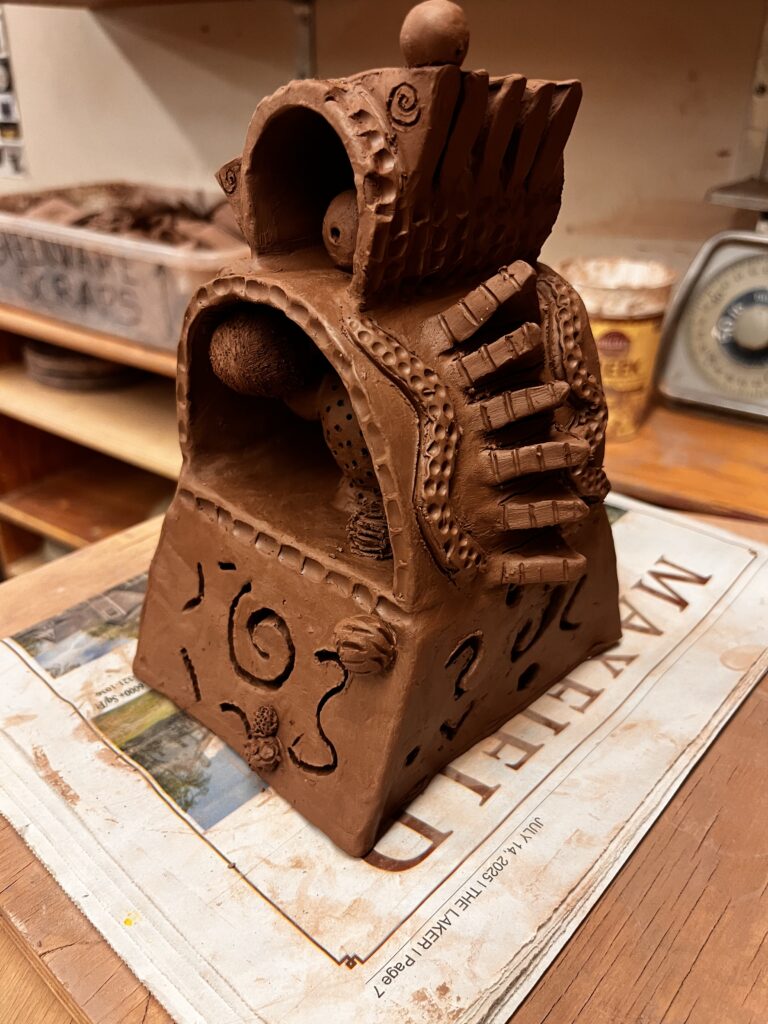
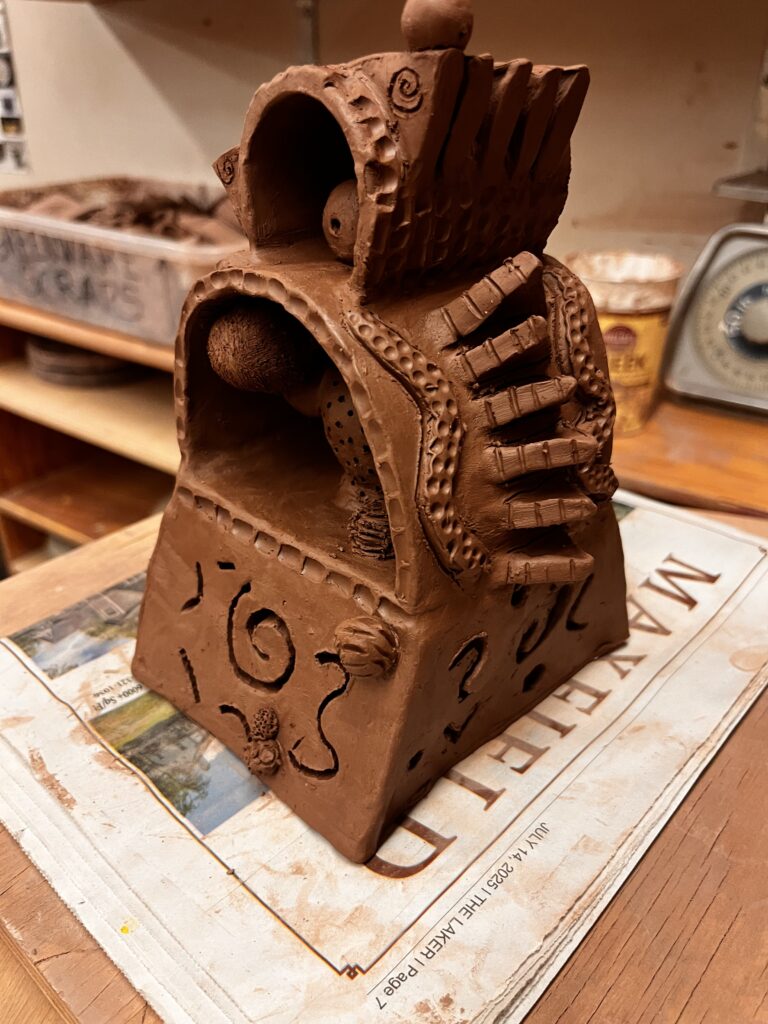
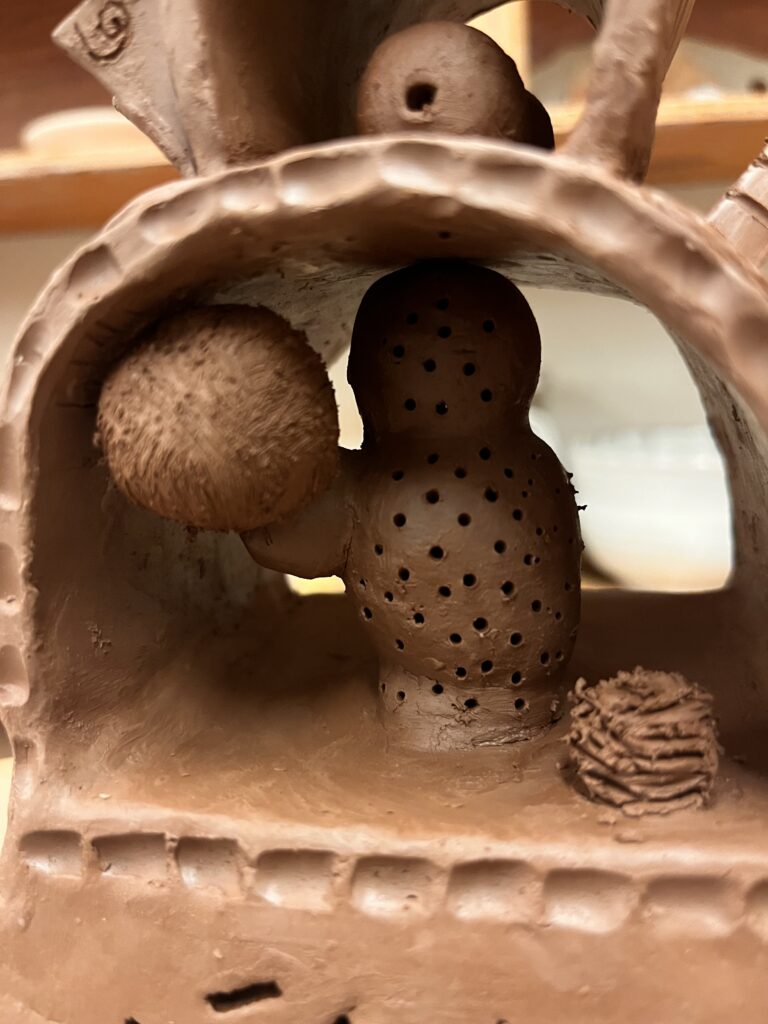
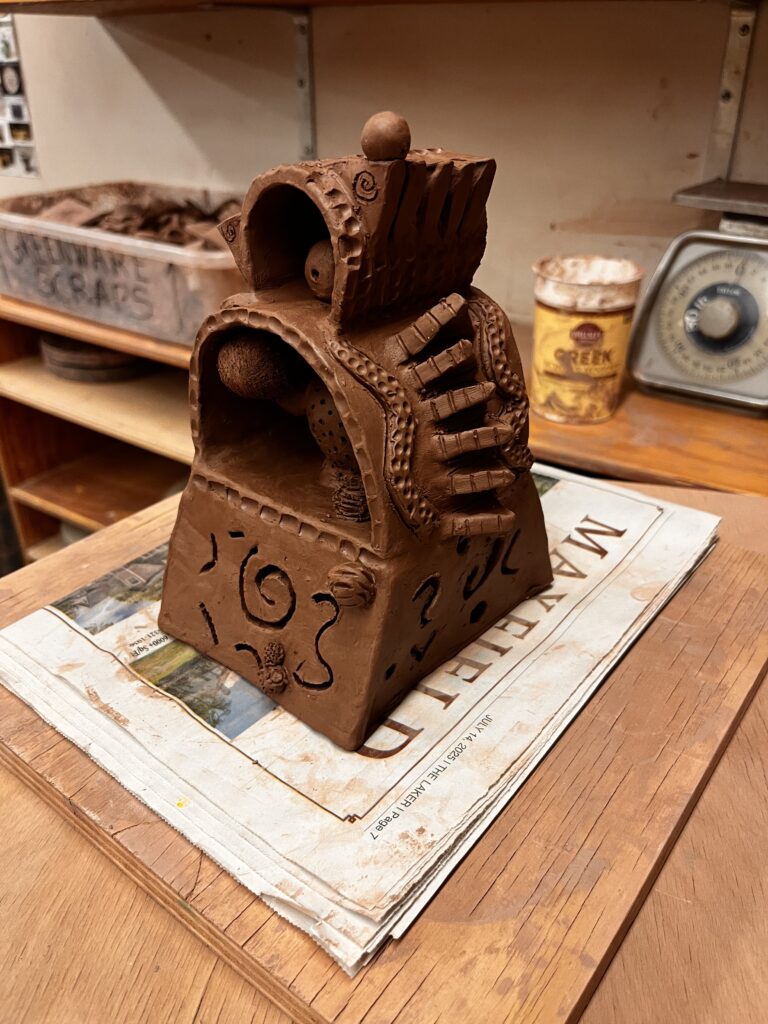
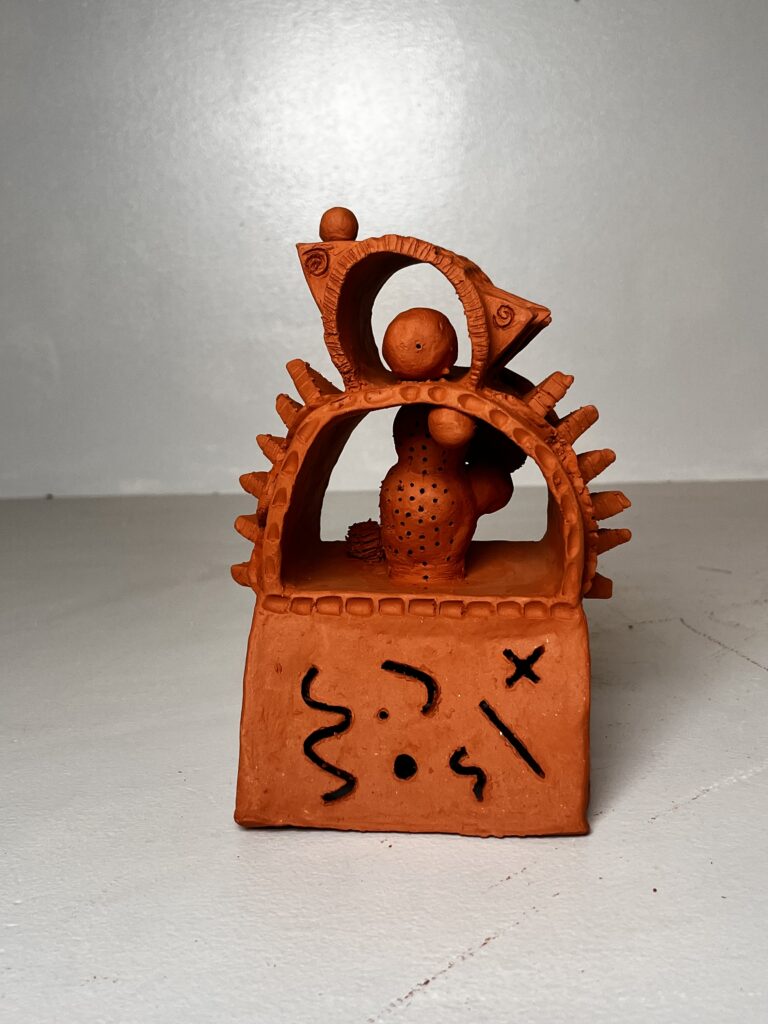
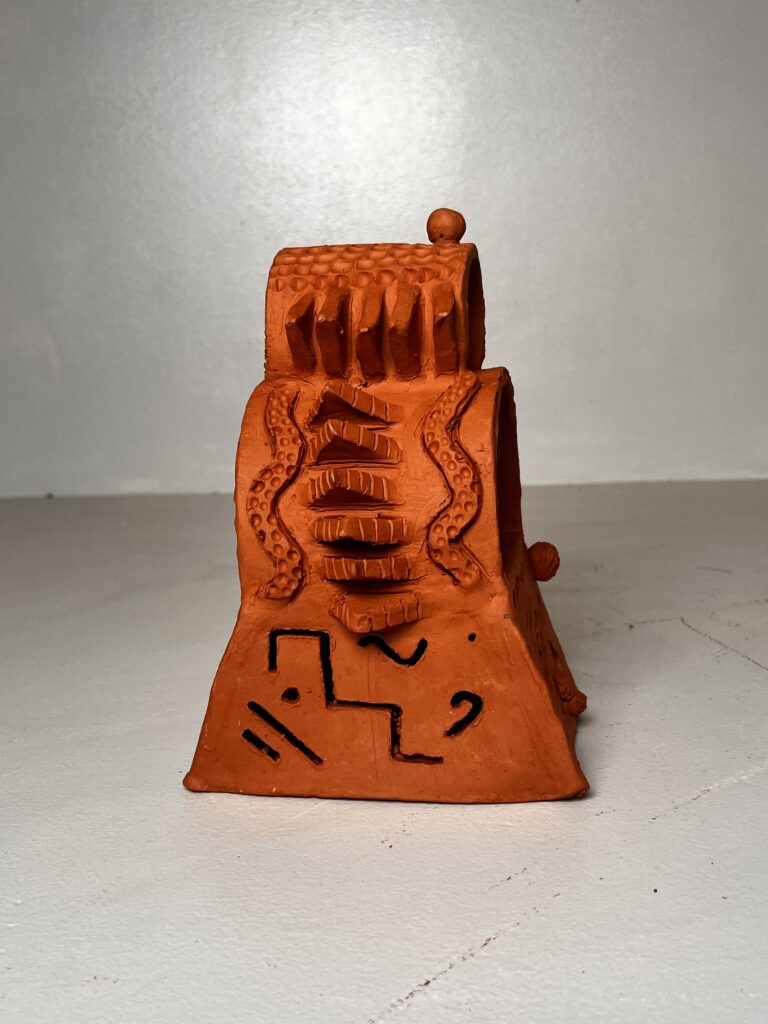
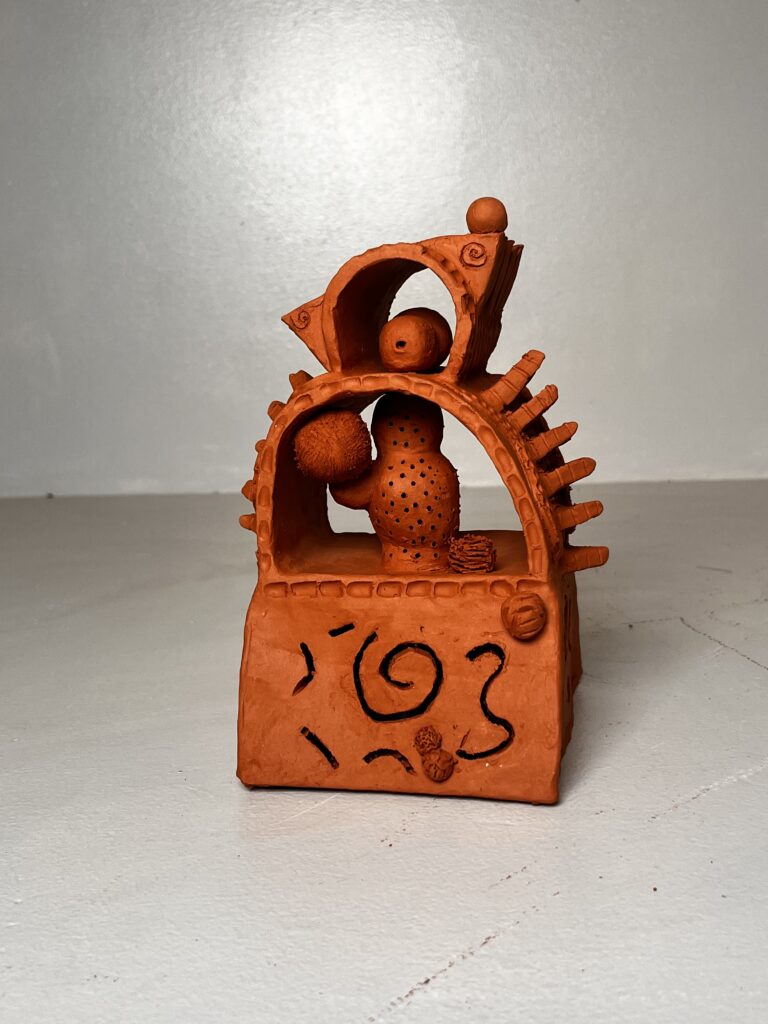
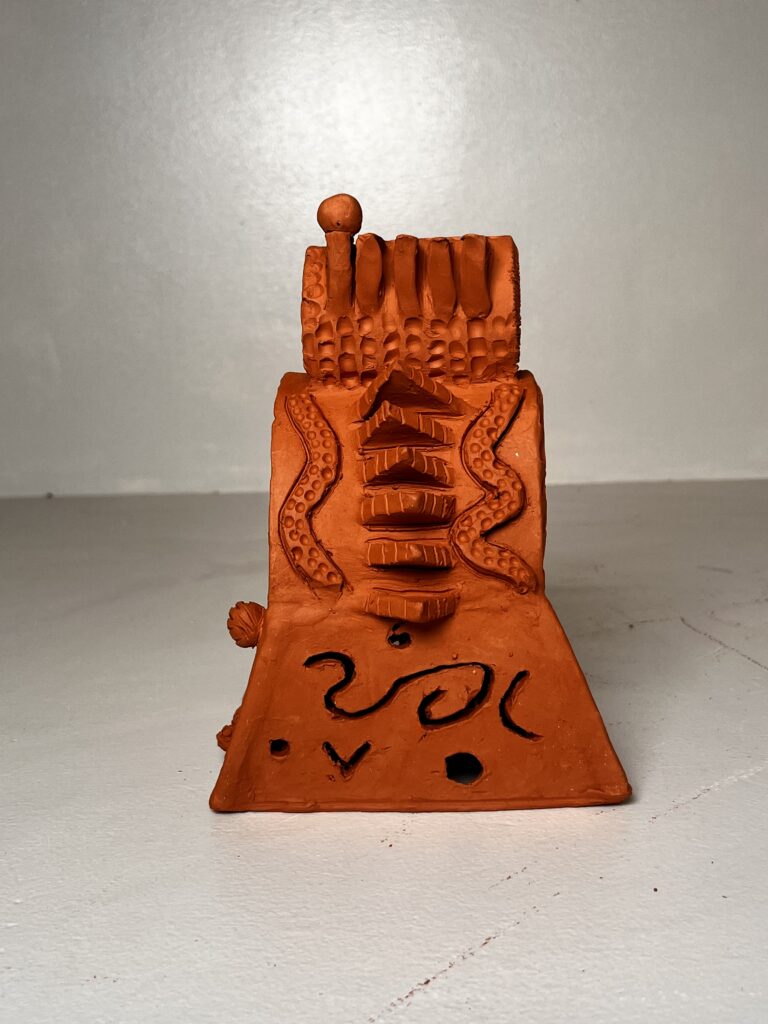
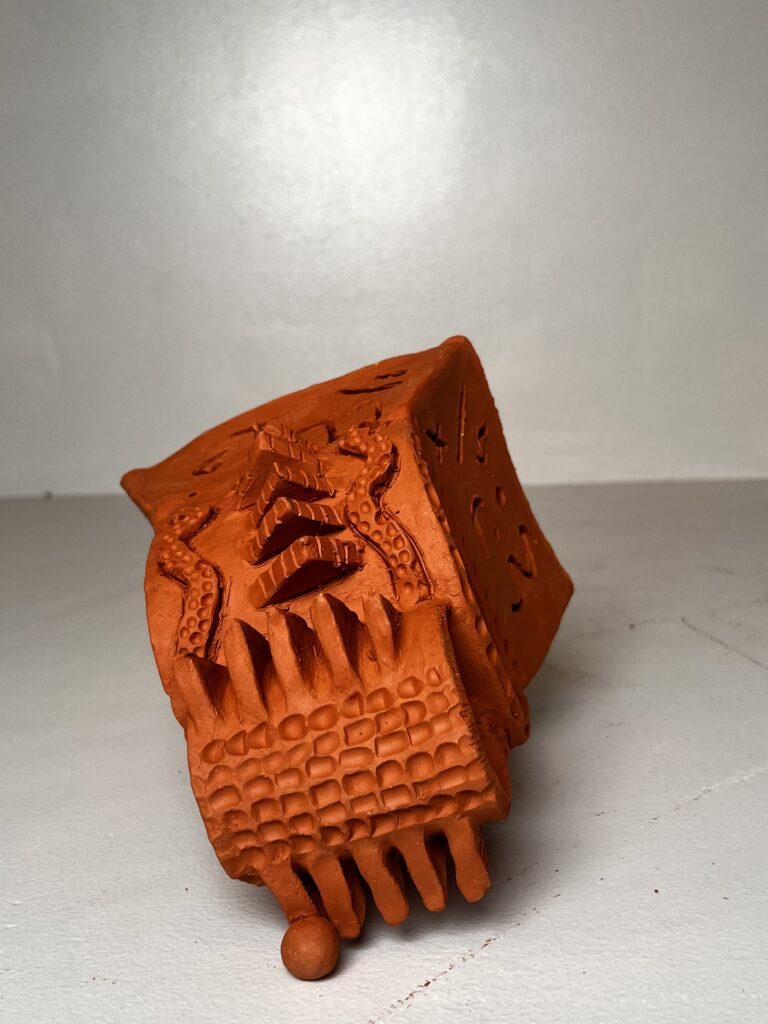
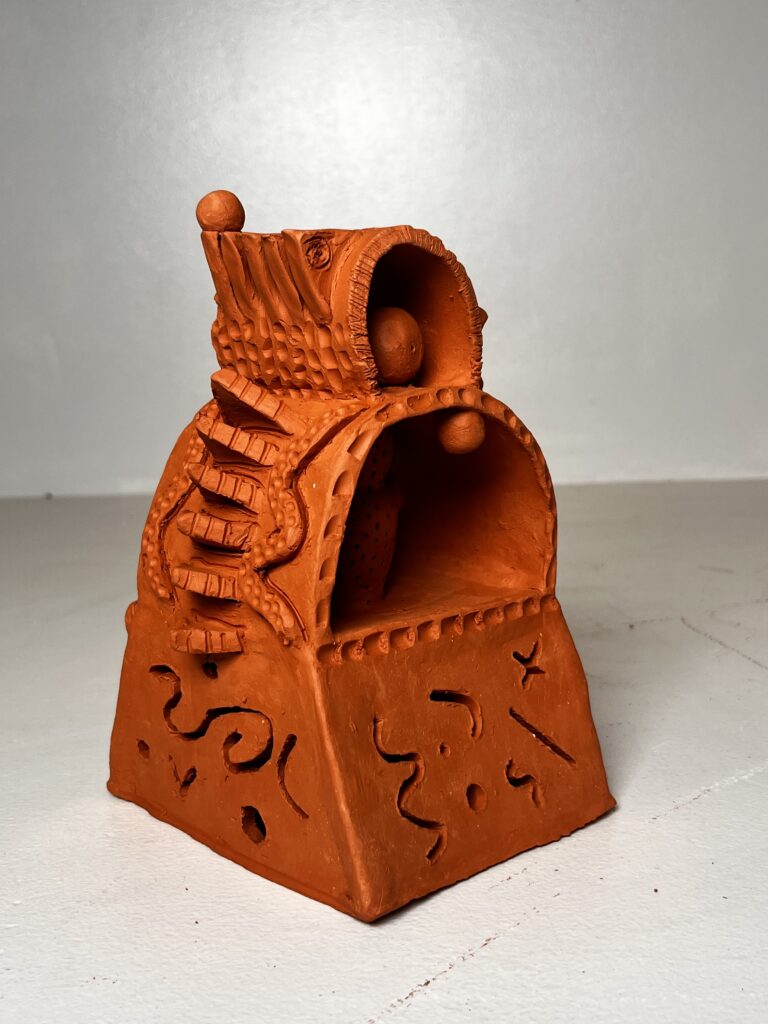
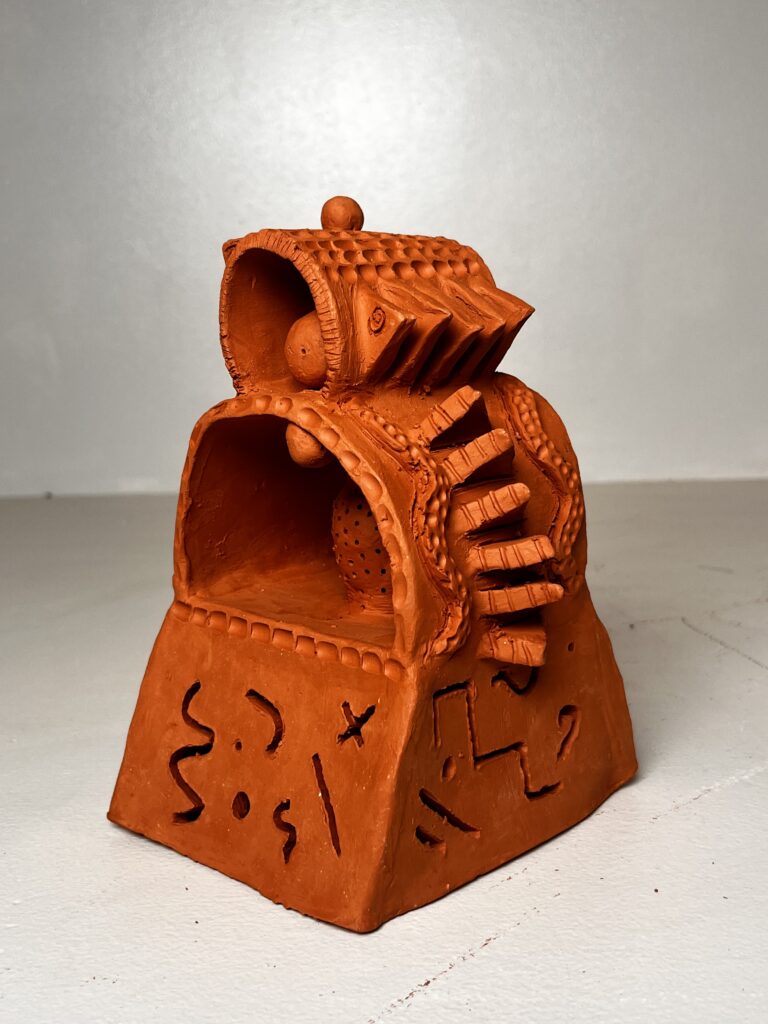
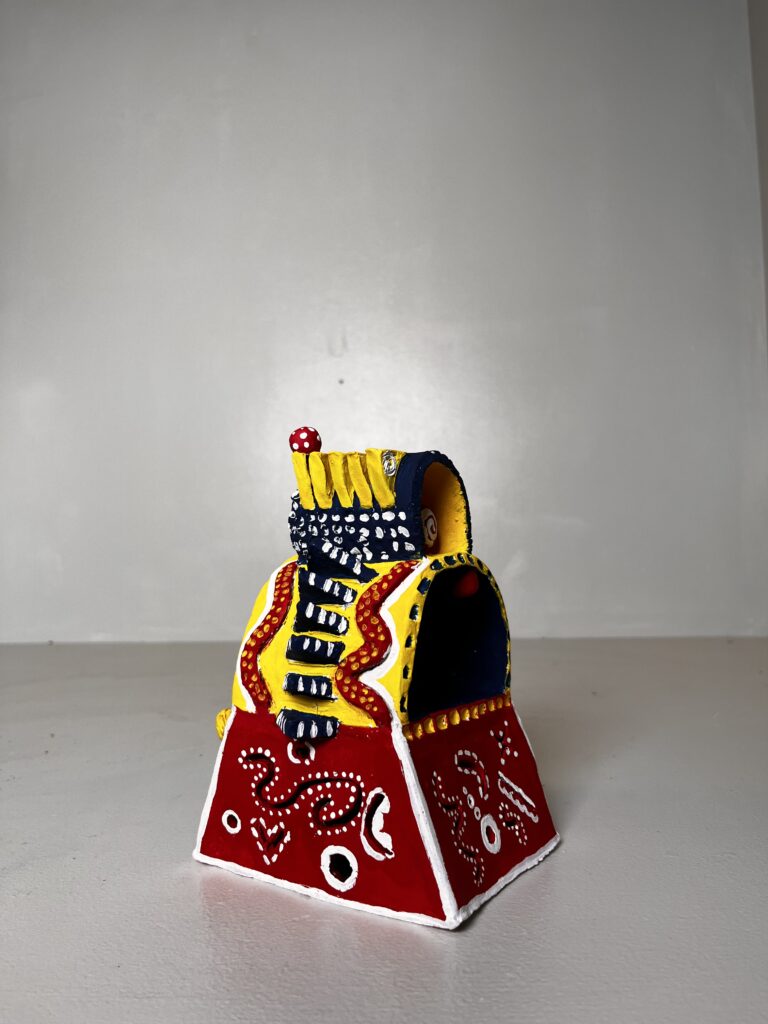
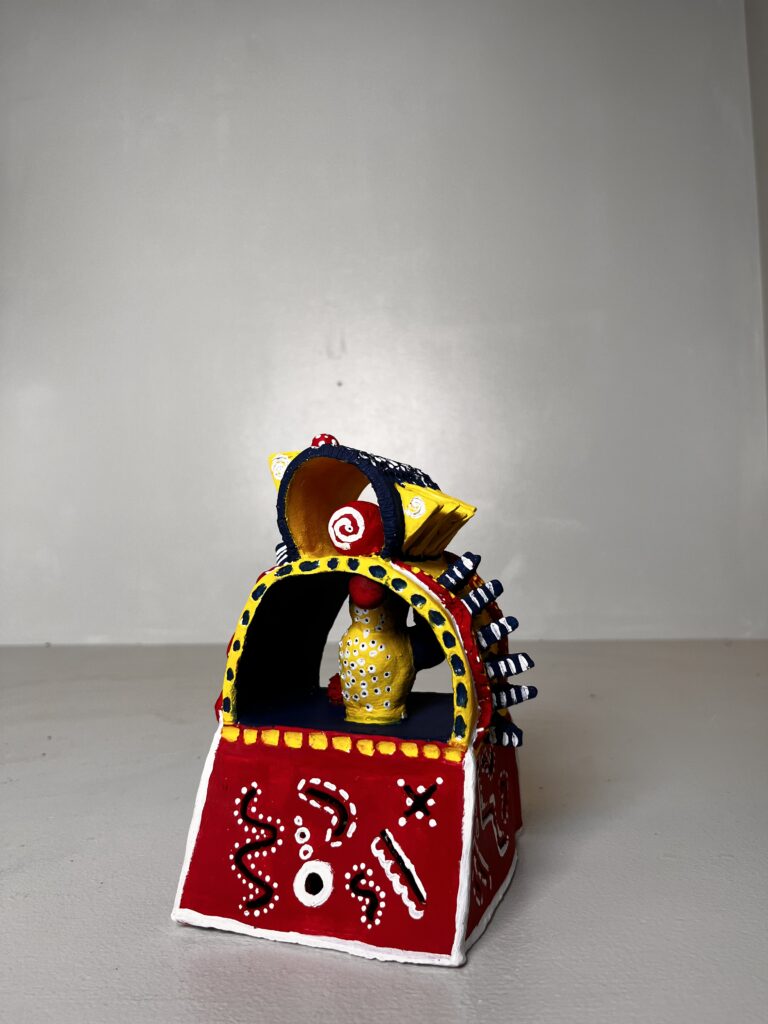
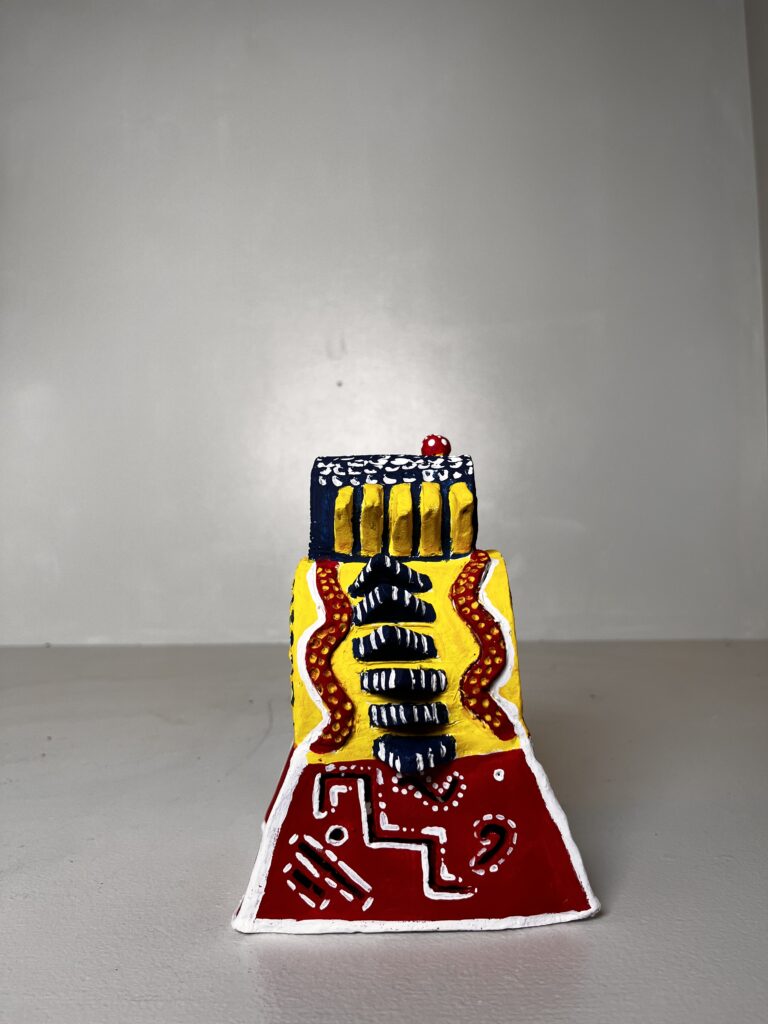
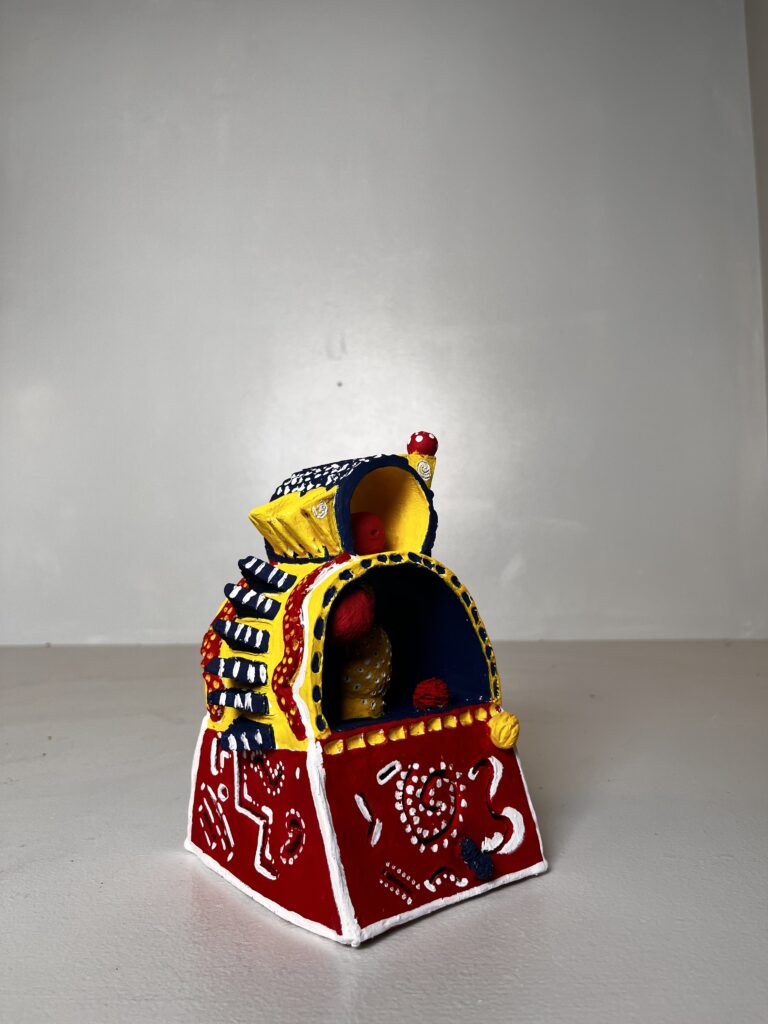
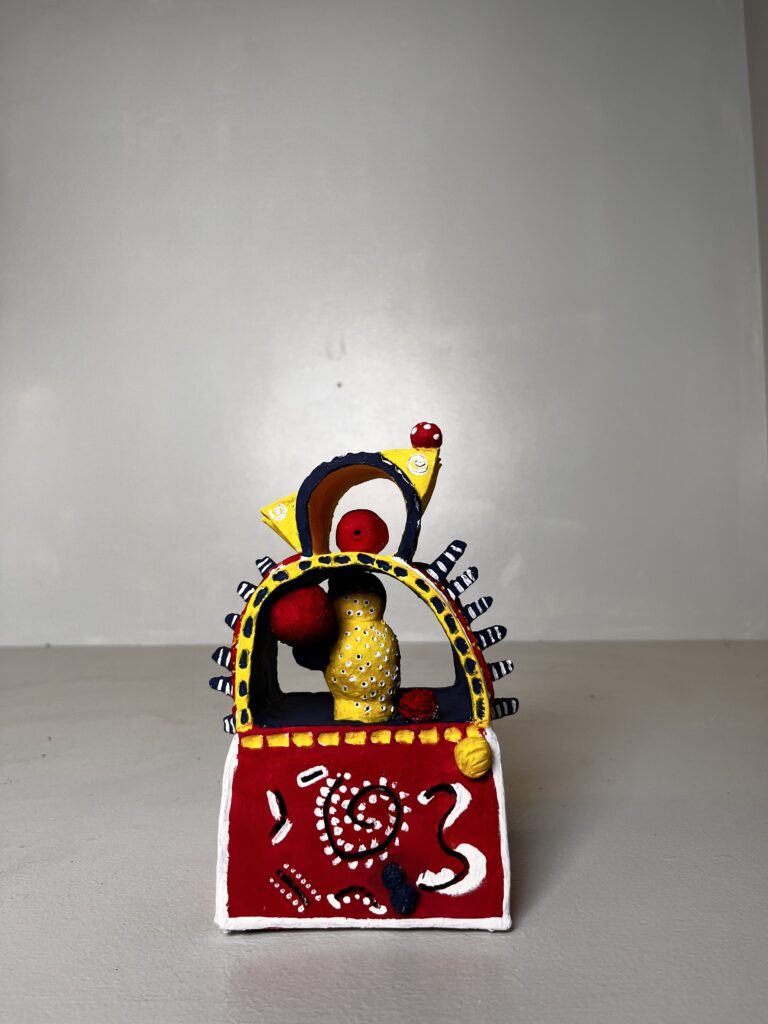
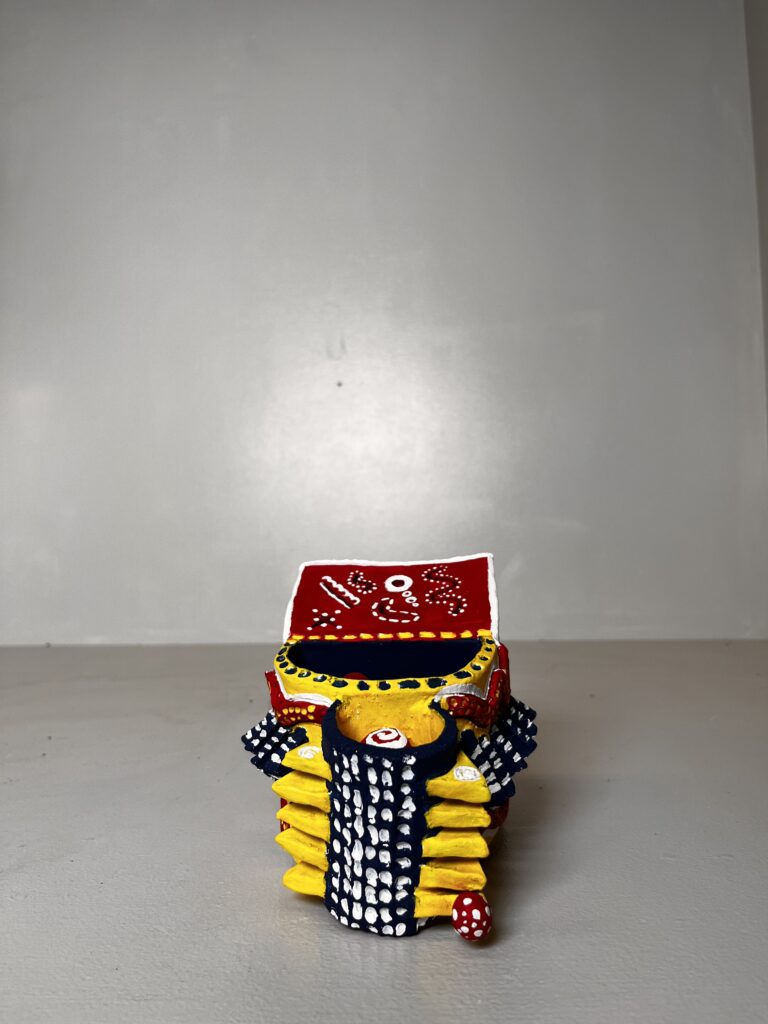
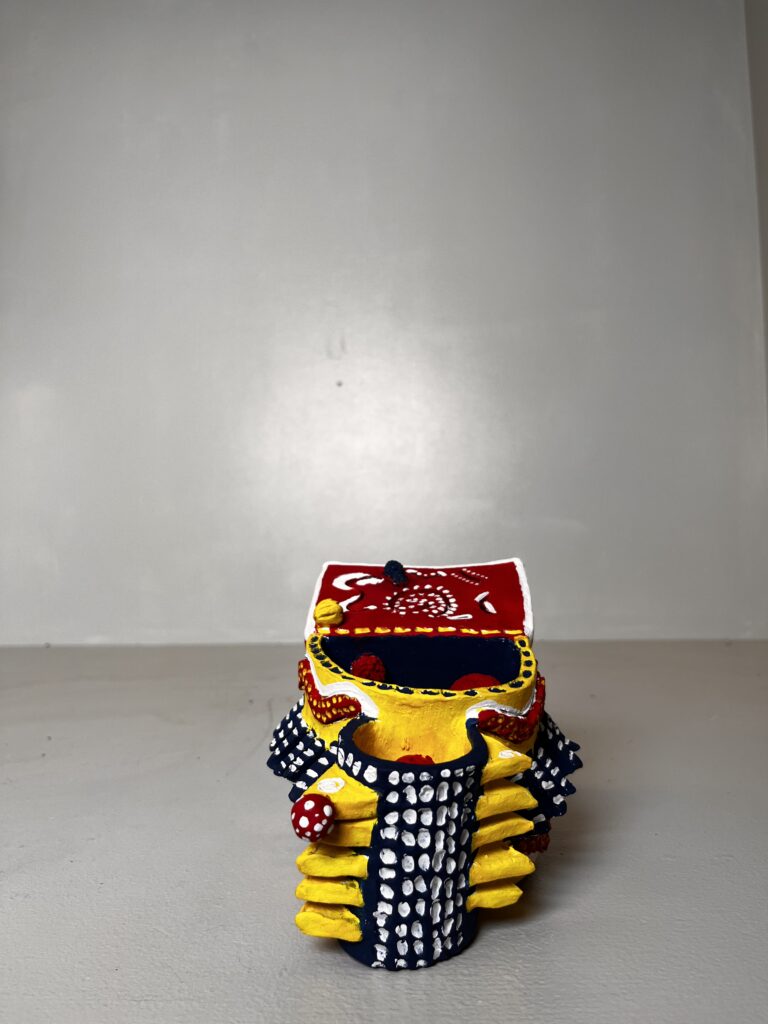
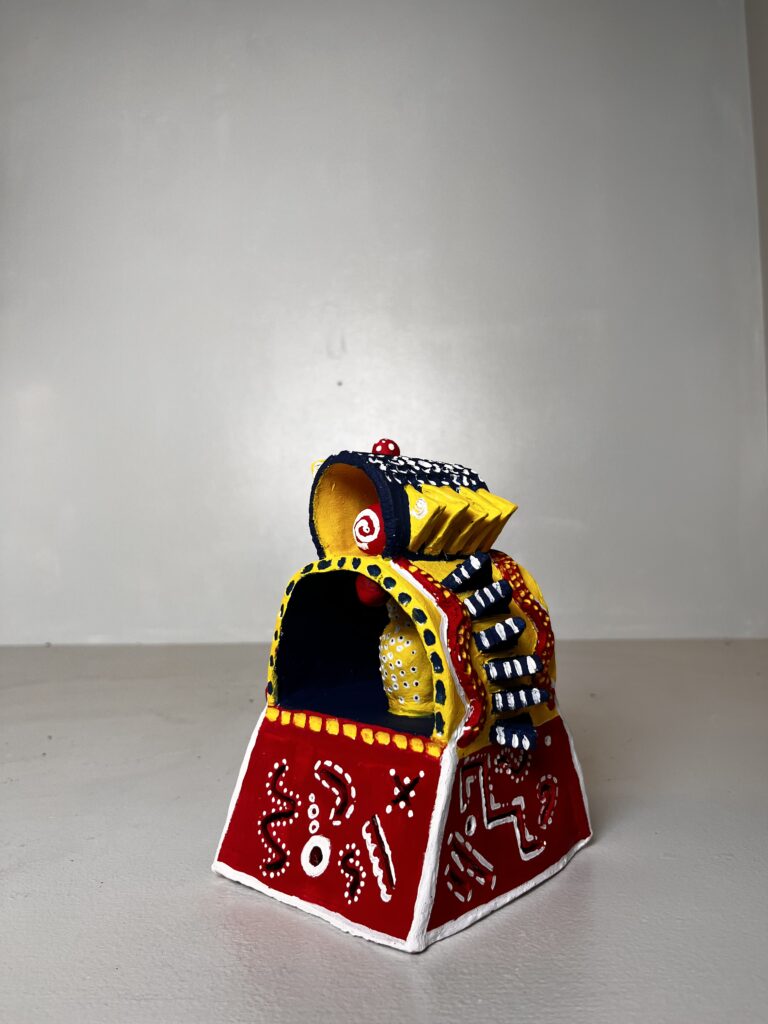
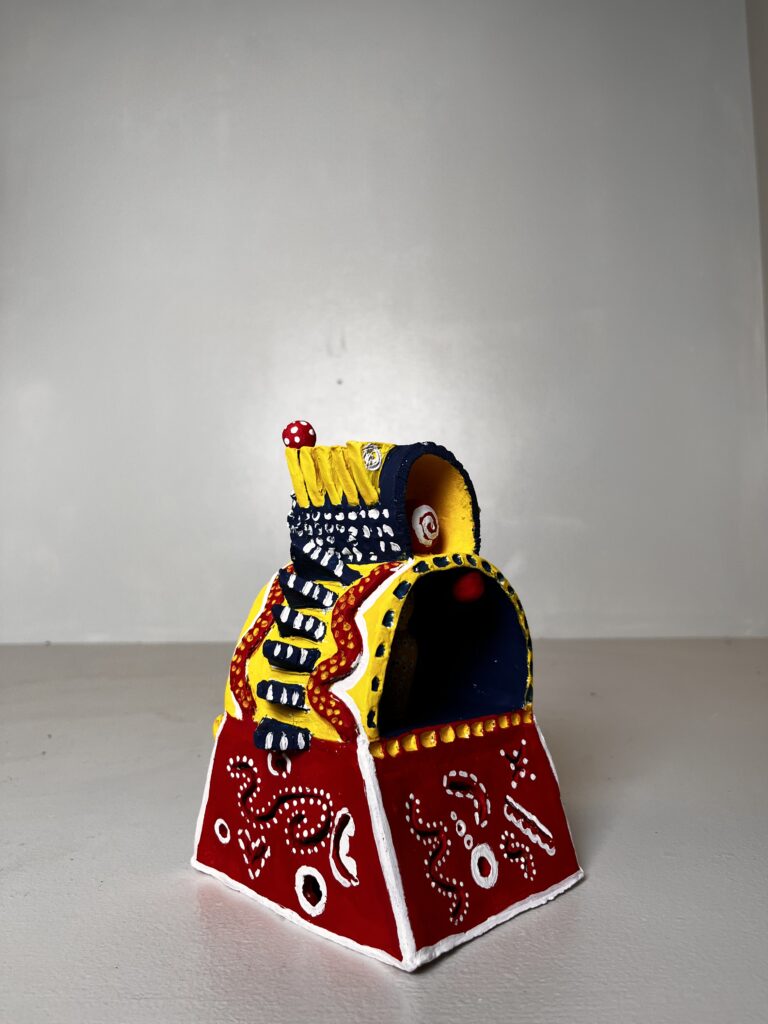
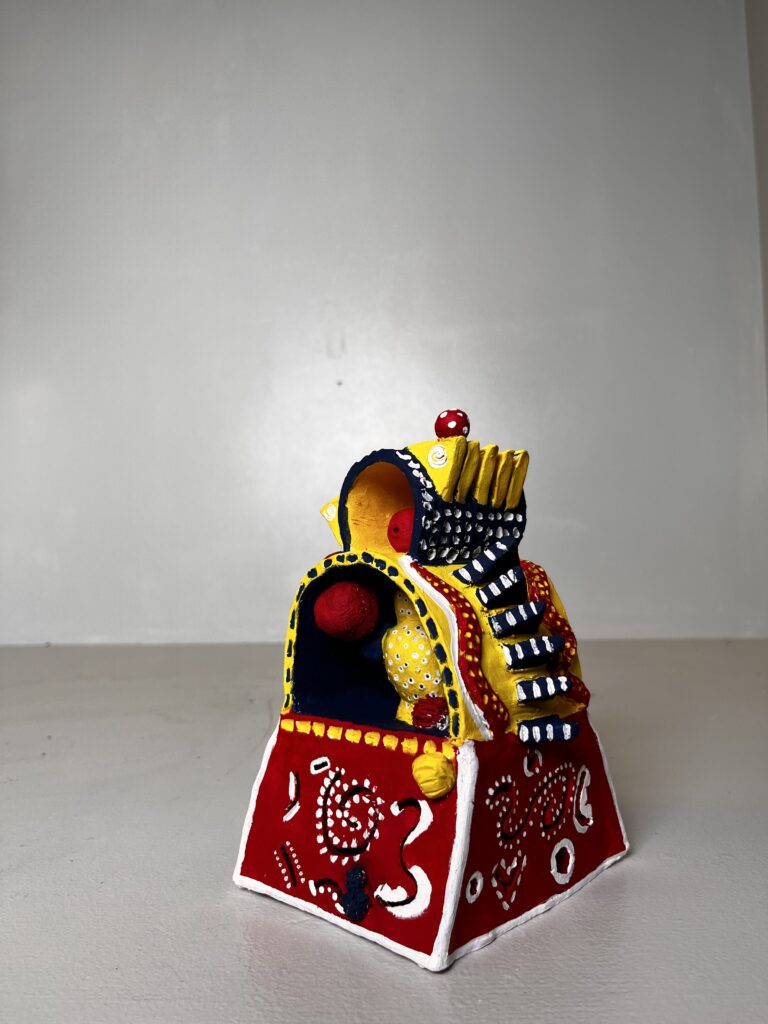
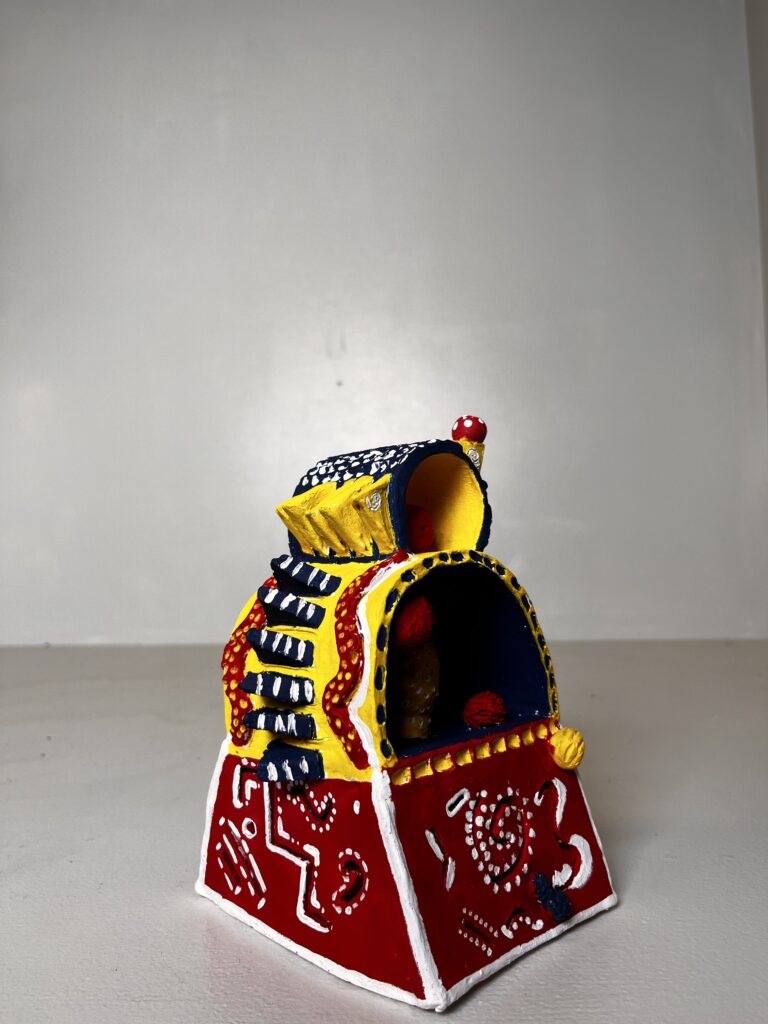
Create a dynamic abstract sculpture that incorporates repetition, geometric/angular open three-dimensional form, organic closed volume, variable scale and texture. NOTE: This will not be a functional object.
Using seven pounds of clay:
Create a geometric/angular and open form using slab construction.
Create three organic closed volumes – that are constructed from two pinch pots each. These three forms should be the same, but vary in scale and texture. – meaning thesame shape of form, varying in scale and texture. (minimum scale 2.5″ – maximum scale 5″)
Arrange and assemble the four objects together to create a dynamic sculpture.
After drying completely to bone dry, the sculpture will get fired in the kiln.
Paint the sculpture to compliment the form. Think about how color is an additional design element to consider.
This assignment had it’s hurdles for sure, but I feel I learned the most in doing it. I went from one idea to another in the blink of an eye. I wanted the three primary colors to pop throughout the piece and truly feel as abstract as possible. There is a combination of both geometric and organic forms, and the sculpture itself is static.
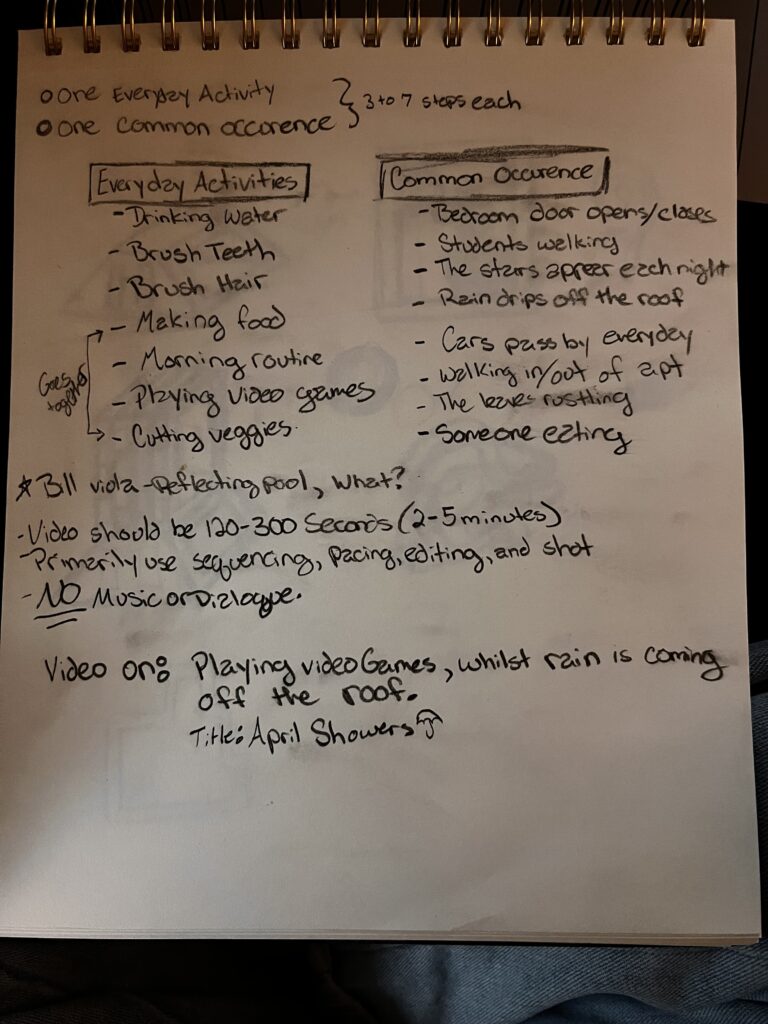
one everyday activity (ex. Washing a car, tying a shoe) – Something that you or someone else does.
one common occurrence (ex. sun rising, coffee brewing) – Think of an occurrence as the “context” or situation in which the activity is happening
Outline each activity into between 3 to 7 steps.
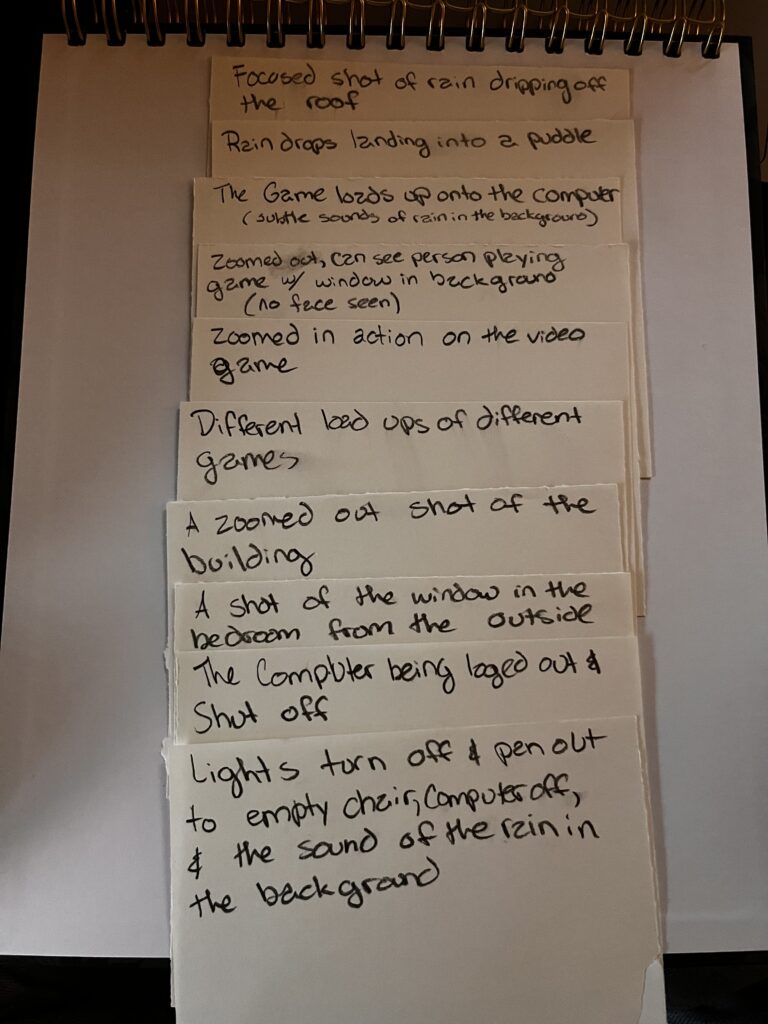
Create a card for each step of the activity and the occurrence on 3”x5” cards. At this point you need only use words to describe the step (ex. “scoop grounds from coffee can”).
(Optional )Shuffle the cards randomly to find new ways of ordering the events in sequence.
(Optional) Create a storyboard based off of one or two of these new shuffled sequences to serve as the basis for your video project.
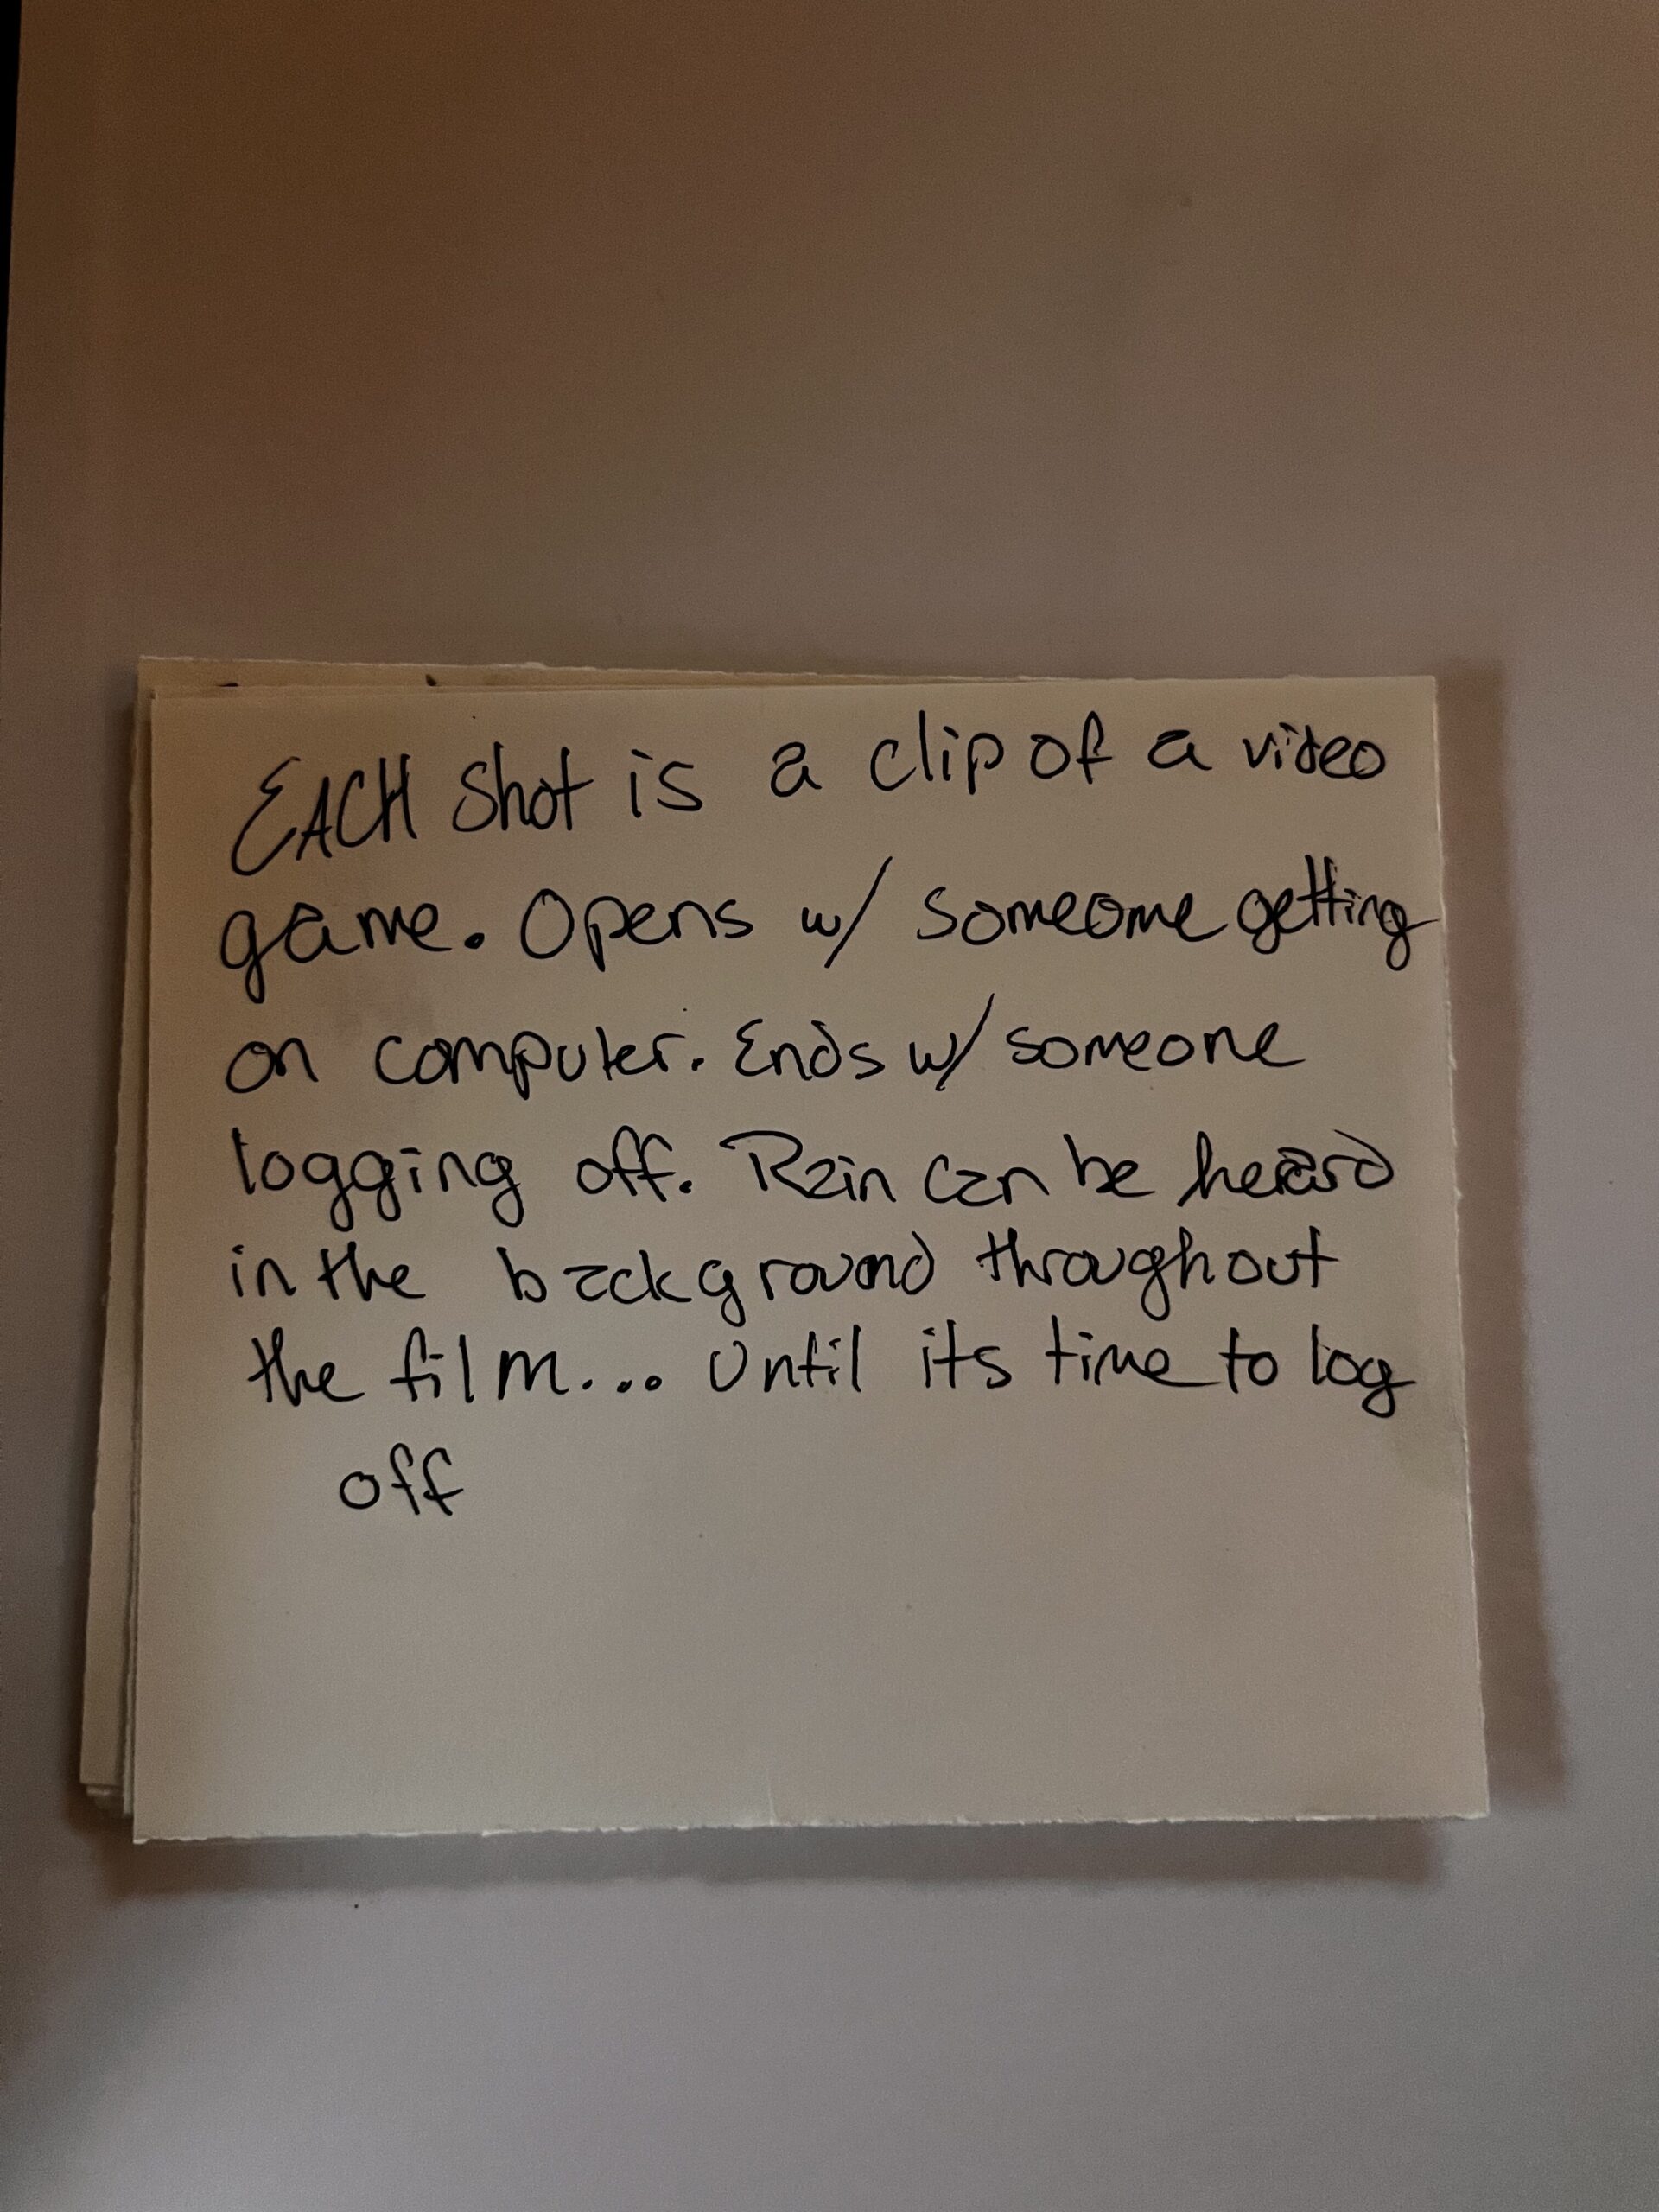
I browsed through a variety of ideas before deciding to do video games as the activity and rain as the occurence. I had a very complex storyboard idea to begin with, but wasn’t going to be able to execute the ideas properly. Therefore, I went with a simpler approach and still was able to get the plot across.
Fieldwork 2: You now are ready to storyboard your sequence. Translate each card in your sequence into a storyboard panel. This is a sketch that indicates point of view (PoV) and scope. It should also include notes about imagery, style, camera movement, subject movement, transition (typically only exit transitions) and structural juxtapositions.
Shooting and Editing
You are now ready to shoot or find your footage and edit your video. The video must be no shorter than 120 seconds and no longer than 180 seconds. You may repurpose found video footage or still images for your video, but be sure to use footage with good resolution. You may choose to have audio or not but NO MUSIC OR DIALOG use ambient (actual sound). (Video can be seen at the top of post)
During my shooting/editing process I came across many obstacles. I am unfamiliar with most editing softwares, and haven’t ever really tried to record something on my own accord. There were problems with reflections in the screen. Relying on my schedule to line up with the weather. I had little knowledge with the overall medium, but felt that I had a solid execution.
The meaning behind the video is simply just a rainy day and games. I wanted to created a feeling of nostalgia and comfort for those who find that in video games. I was never really a huge fan until high school, and now they have become a fun pastime that others can enjoy alongside me.
IN YOUR SKETCHBOOK: Make a list of at least three contrasting concepts for each side of the diorama. Examples of simple solutions (you will create better ones!)
Day & night
Arctic & desert
Curvilinear & angular
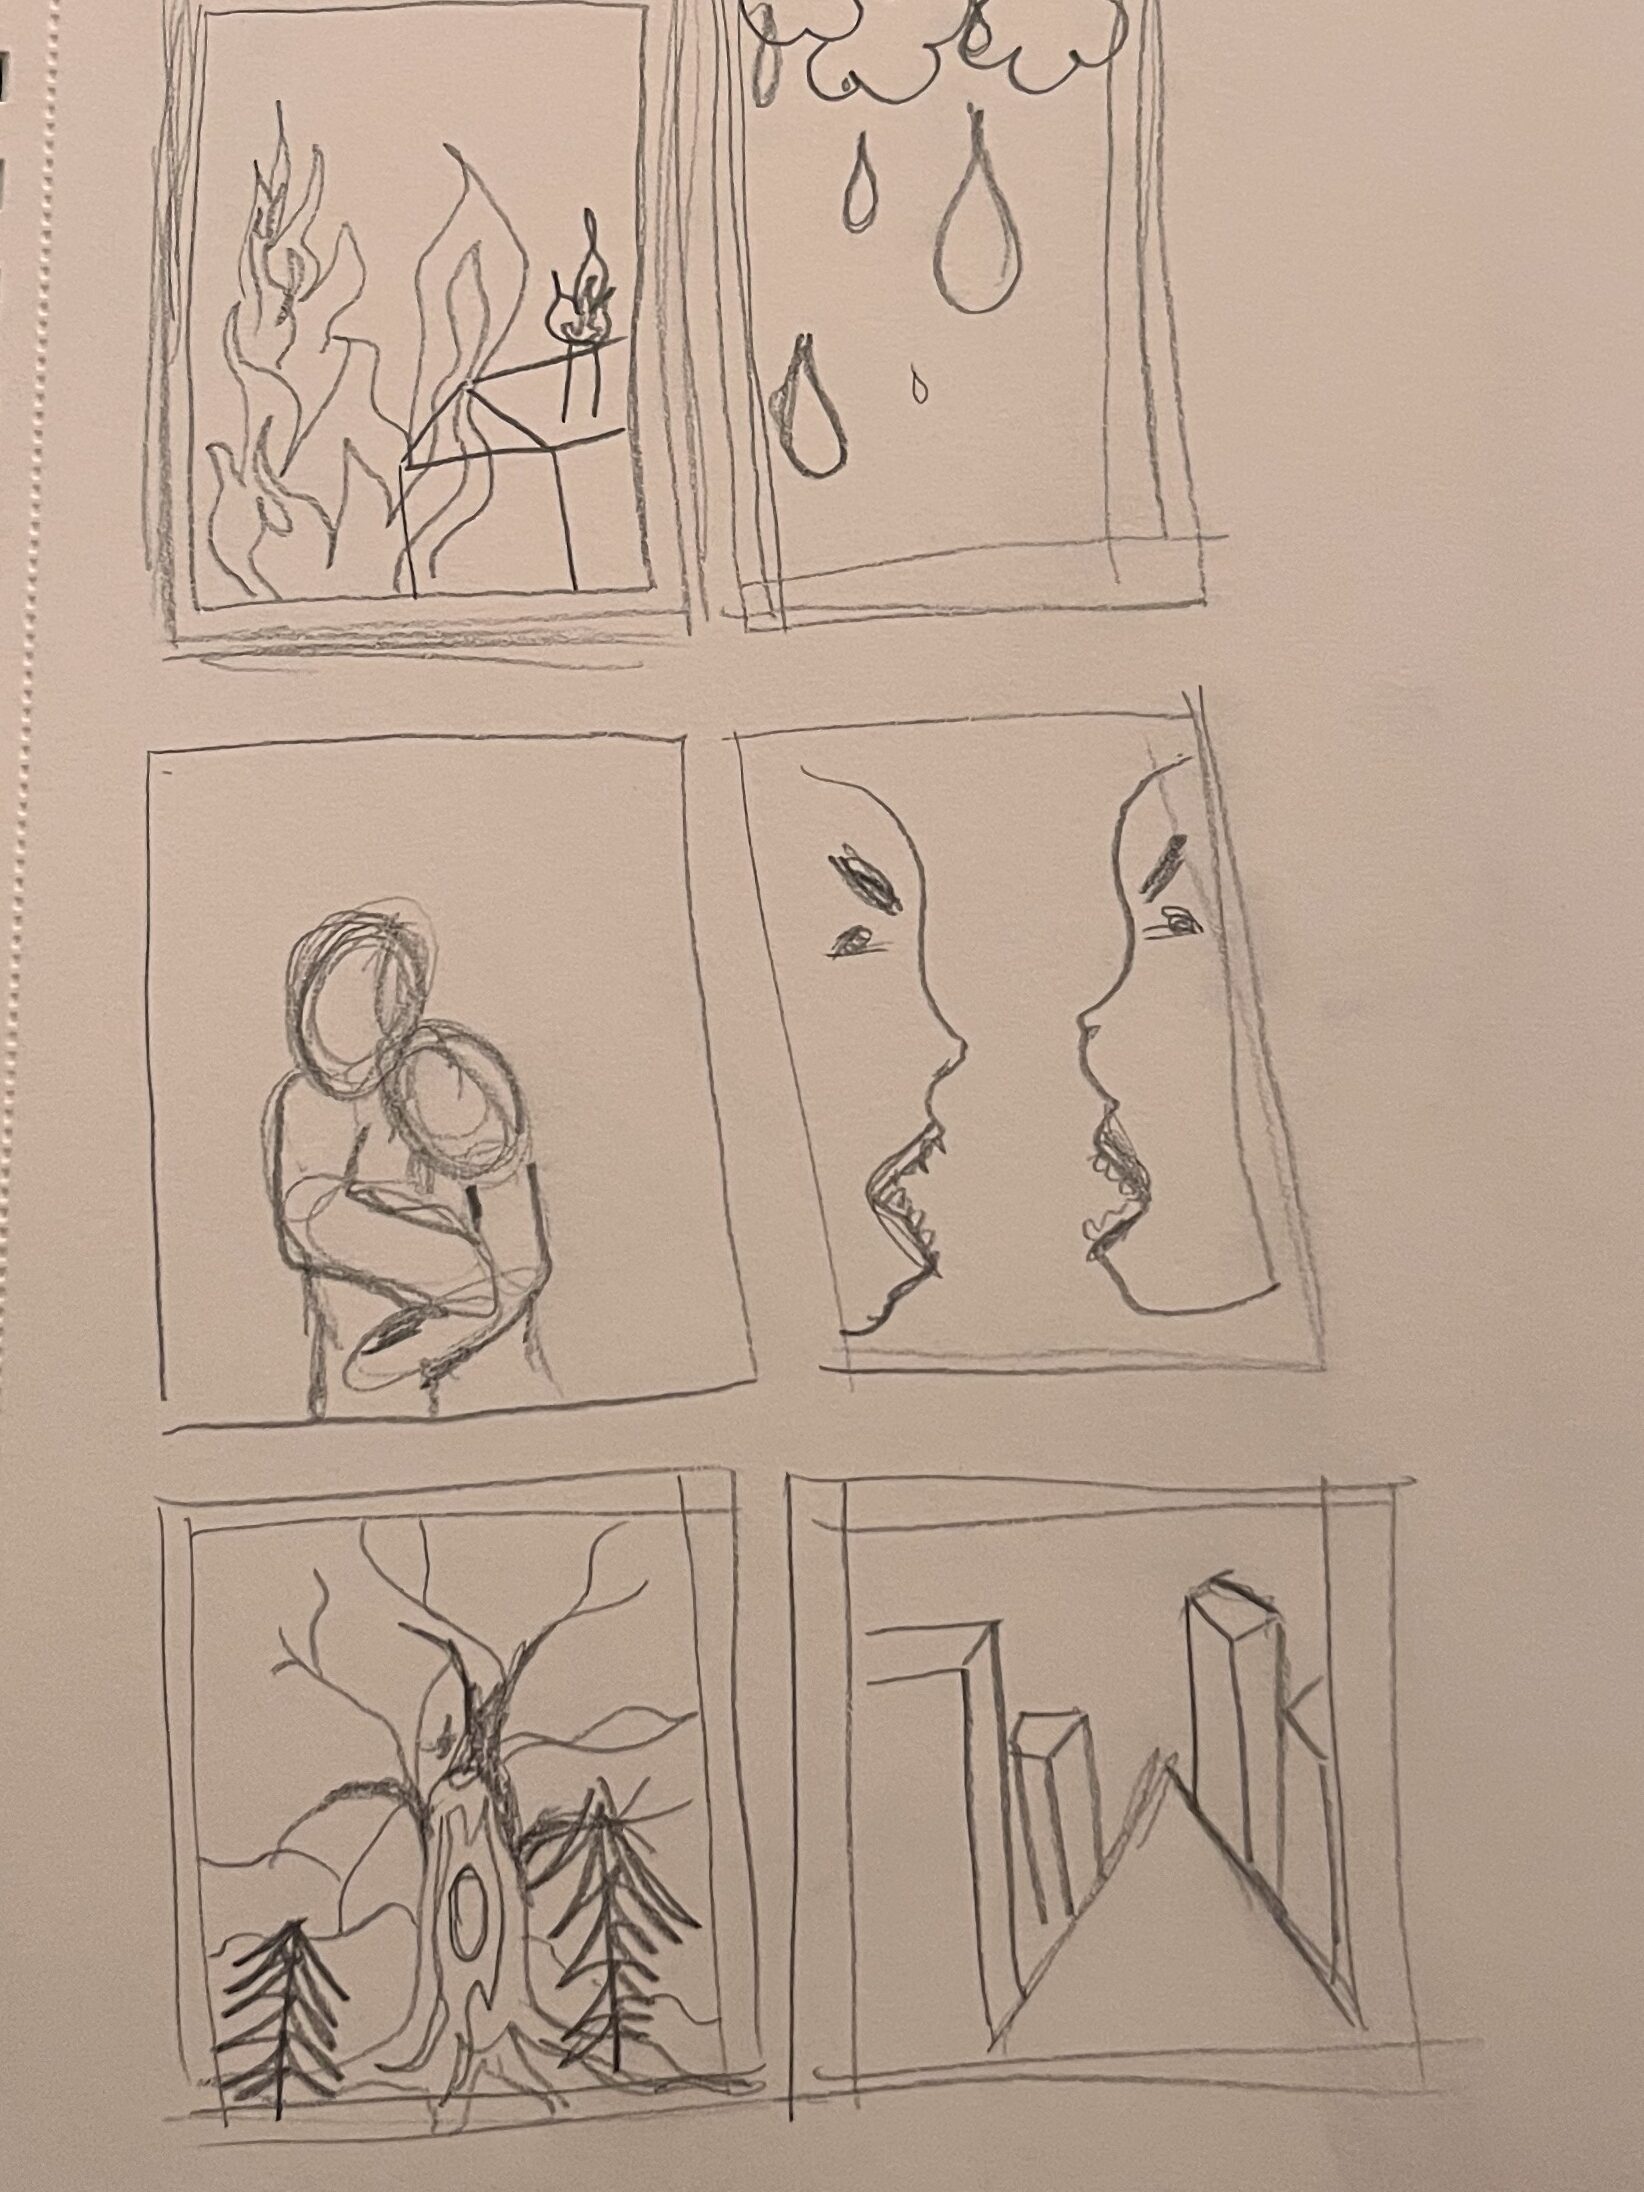
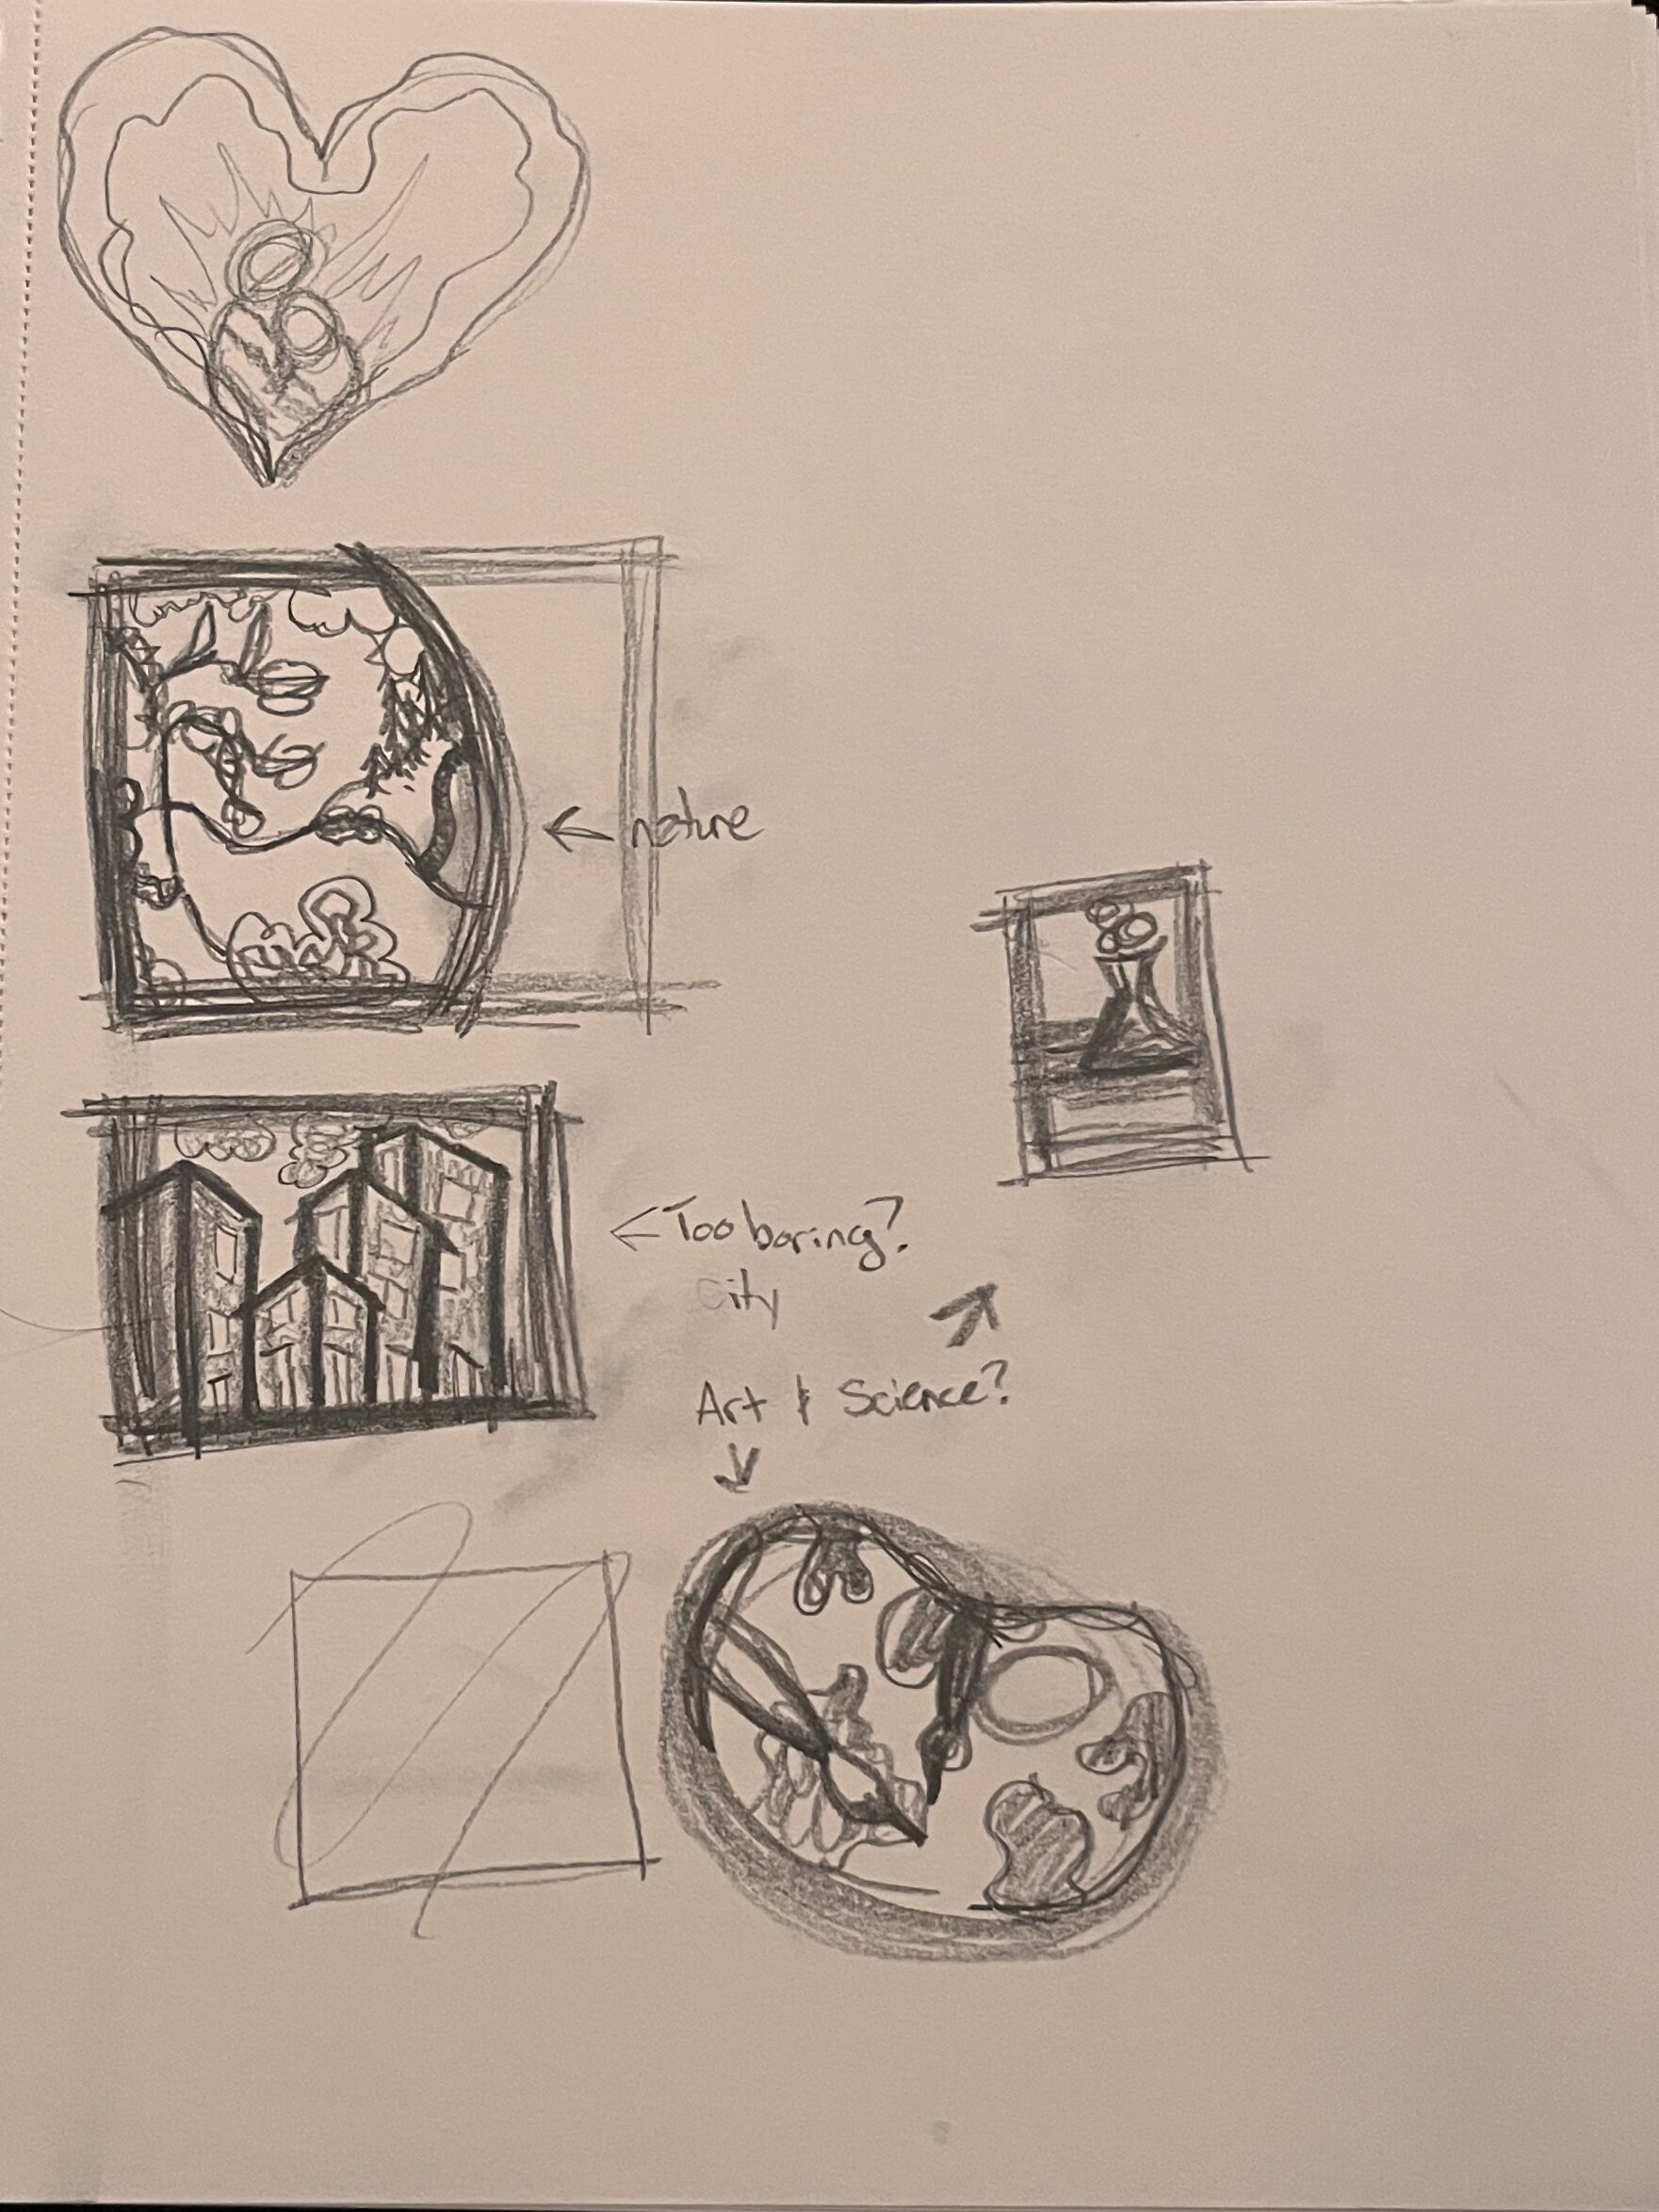
Using one page for each concept, rough sketch at least one set of compositions for each concept. You will choose one of these to develop into the final.
I had many rough ideas, but each one seemed to overcomplicate the piece. I ended up working with my ideas in the bottom left image, with a few alterations.
Part Two: From your contrasting ideas select objects that relate and think of them in layers.
What do you want to represent in this contrast for the viewer?
Take the images and break them into three or more layers (on each side), by distance (foreground, midground, background). The composition should be visually dynamic. Consider scale, overlapping, foreshortening and perspective (Think back to our Dynamic Drawing project!).
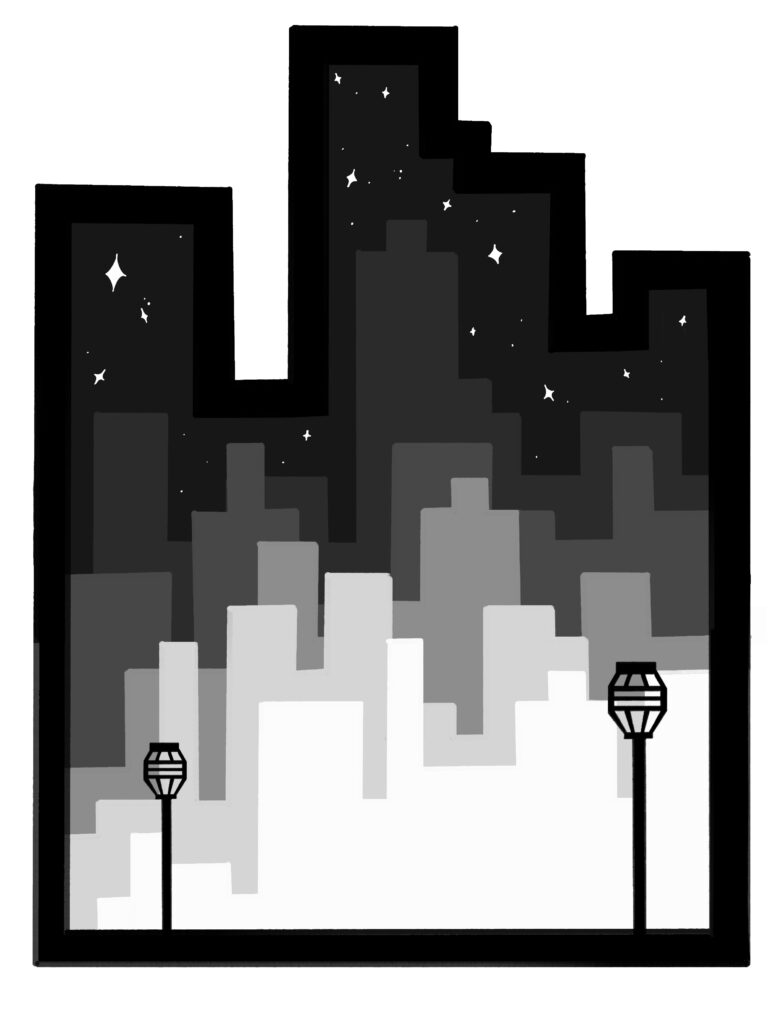
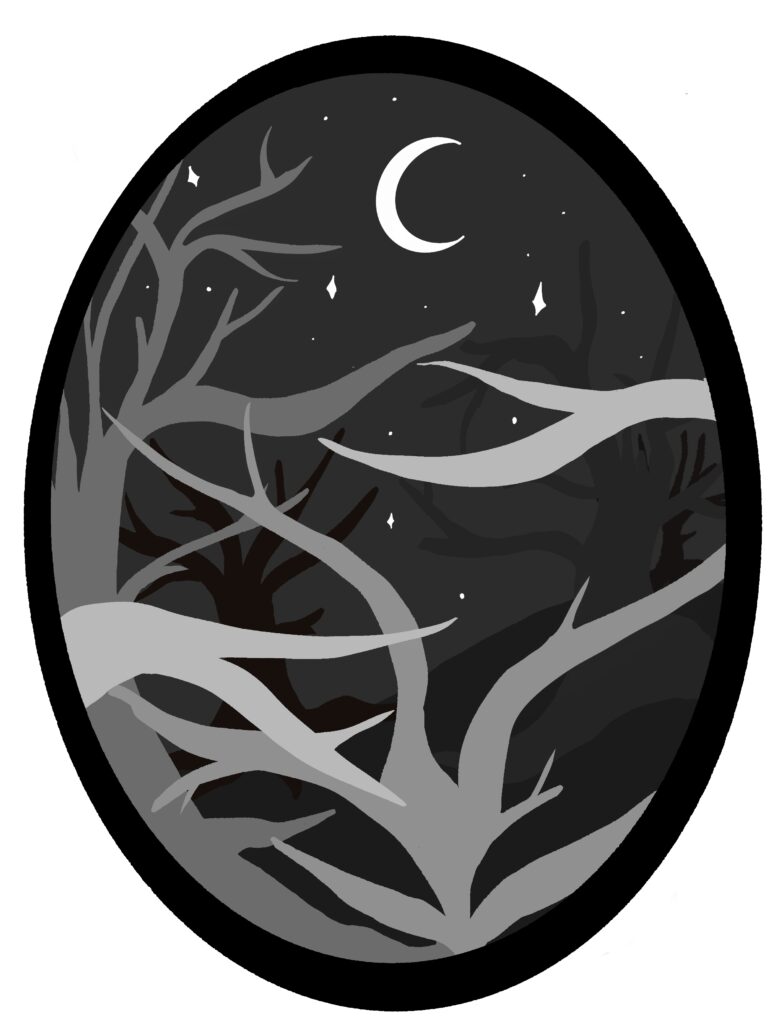
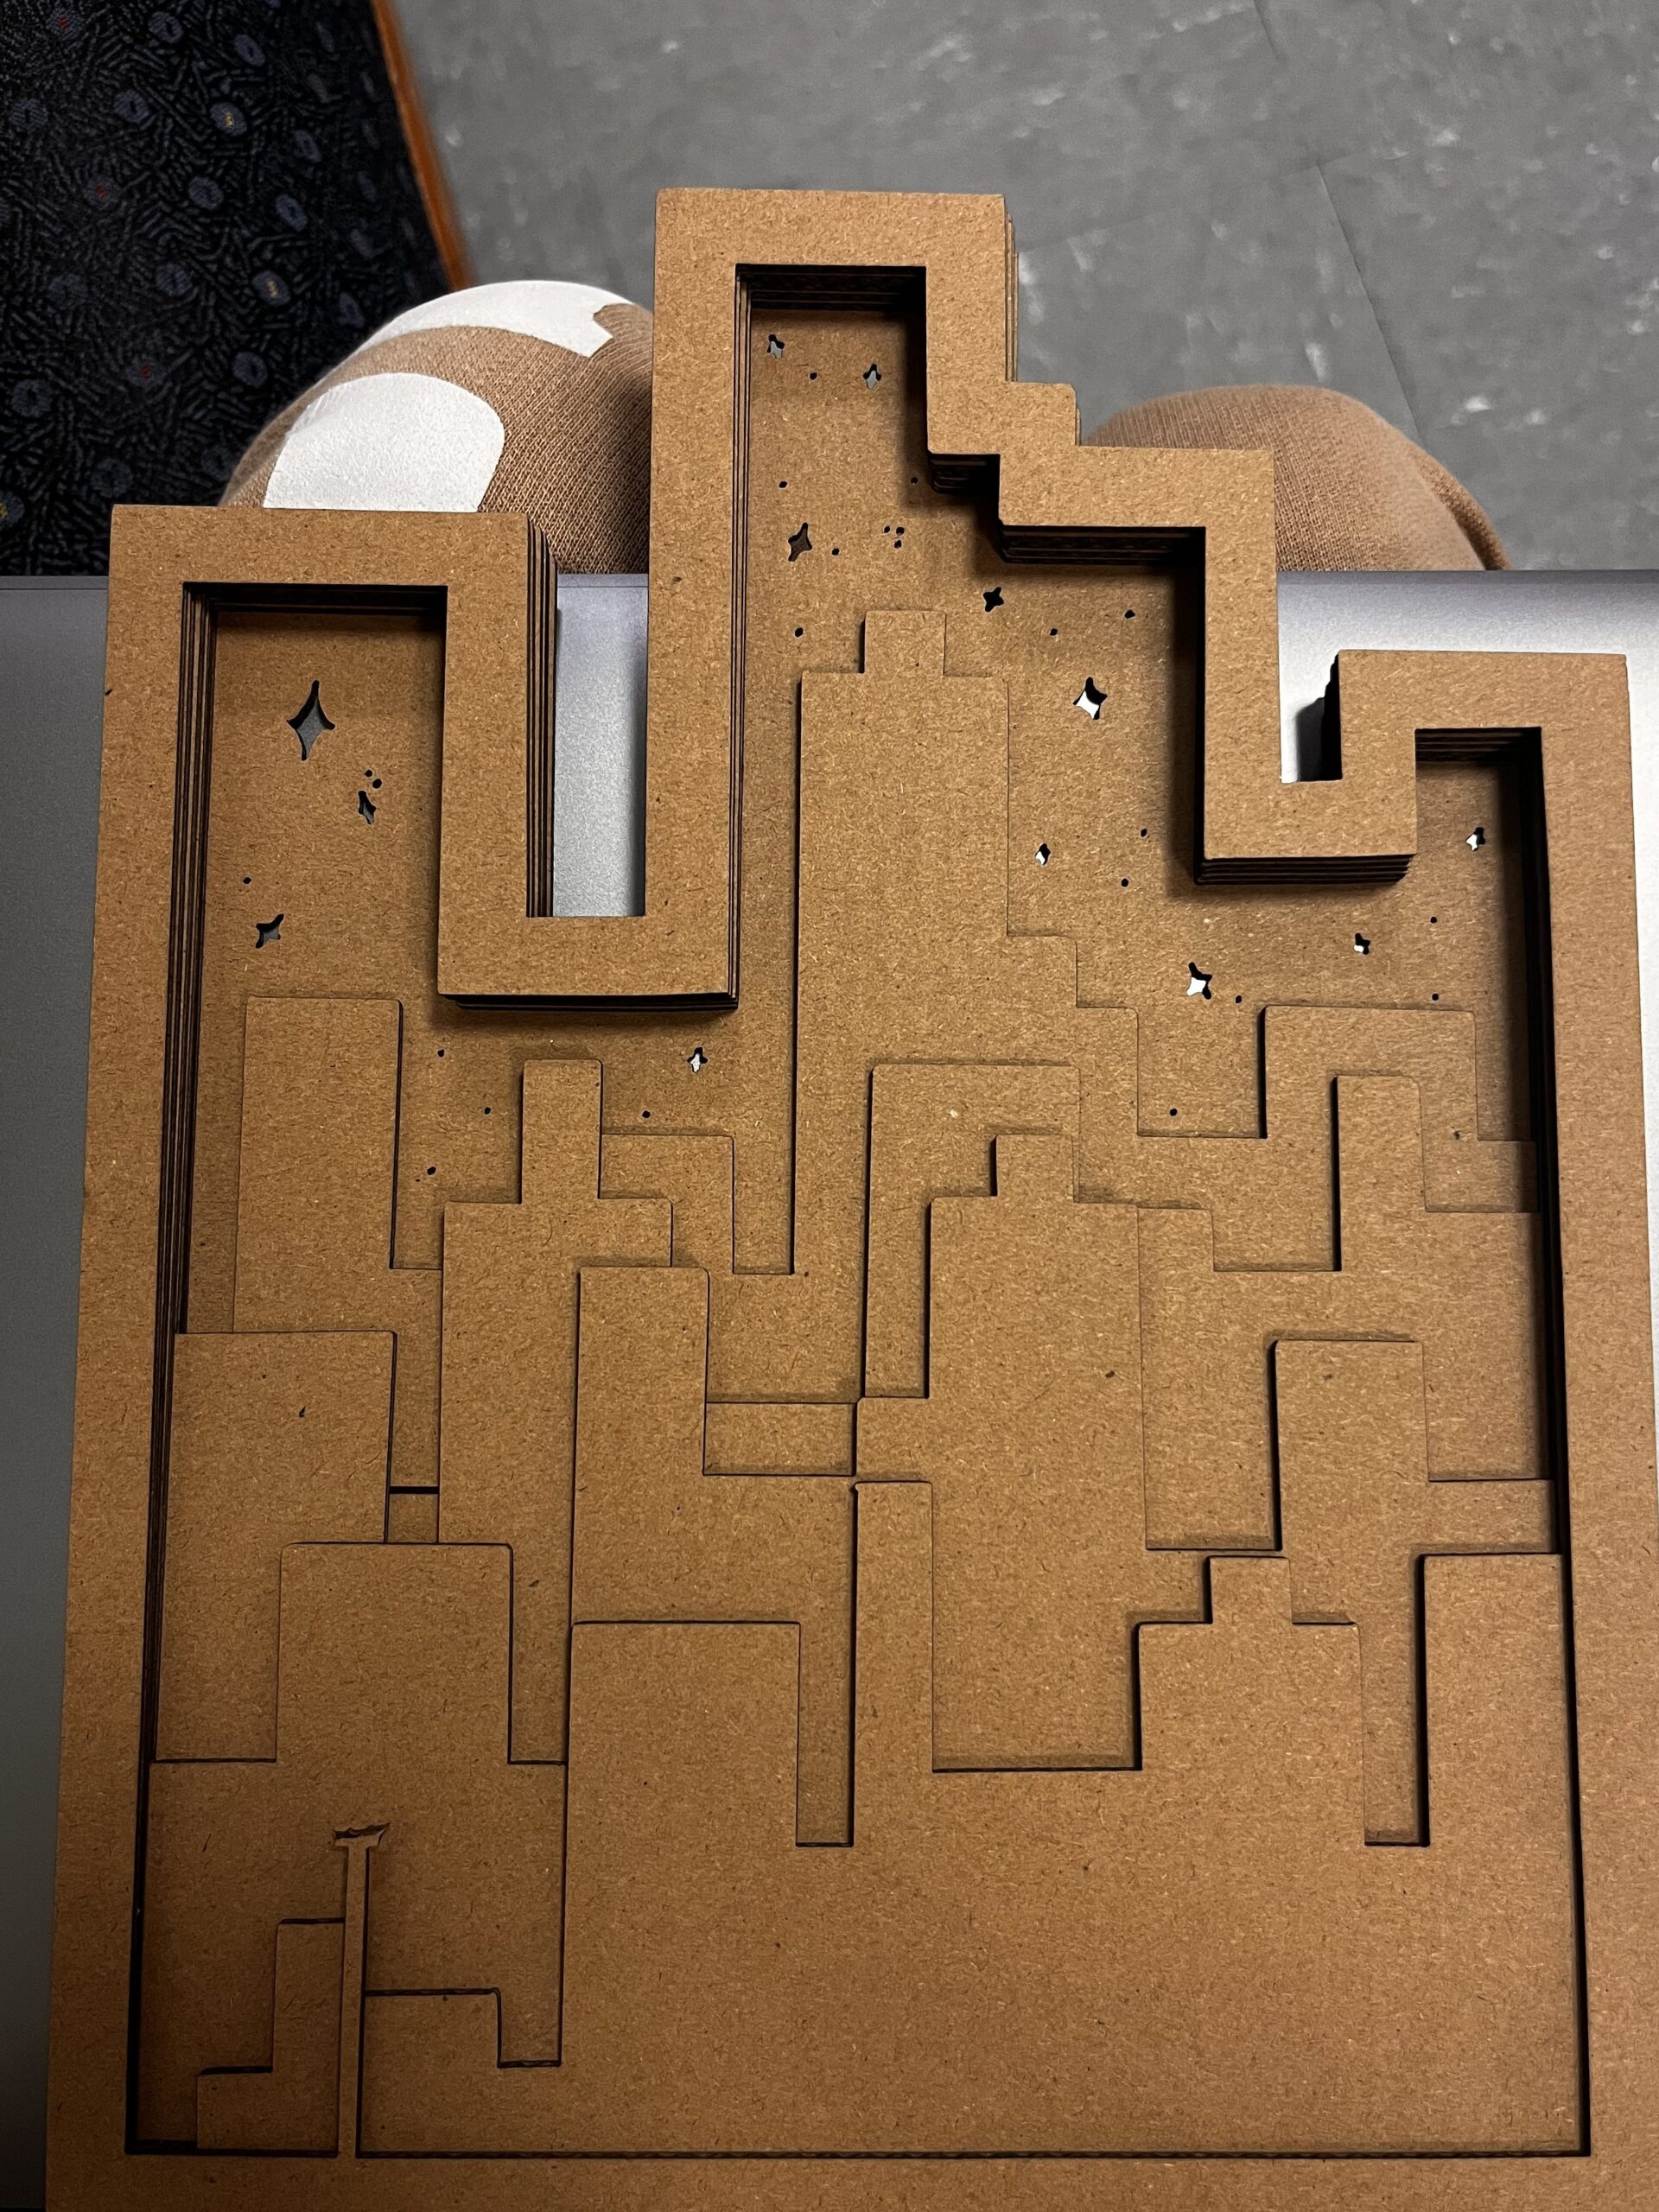
The Digital forms were much darker than the cut out pieces, and for some reason I reversed the value differences. I am fond of both, but I believe the final work is stronger than the digital designs.
Part Three: Digital Translation
Transfer sketches in sketchbook to digital files. We will go over this in class and we will be using the Mac Lab to do this. You will create a digital layer for each of your lasercut layers. These will be saved imported into Lightburn,Links to an external site. cut the layers. We will go over this in class and in the Makerspace.
Create a cut layer for the frame of the piece (sides and front).
Schedule time in the Makerspace to cut your layers with supervision – if you can’t do it during class time.
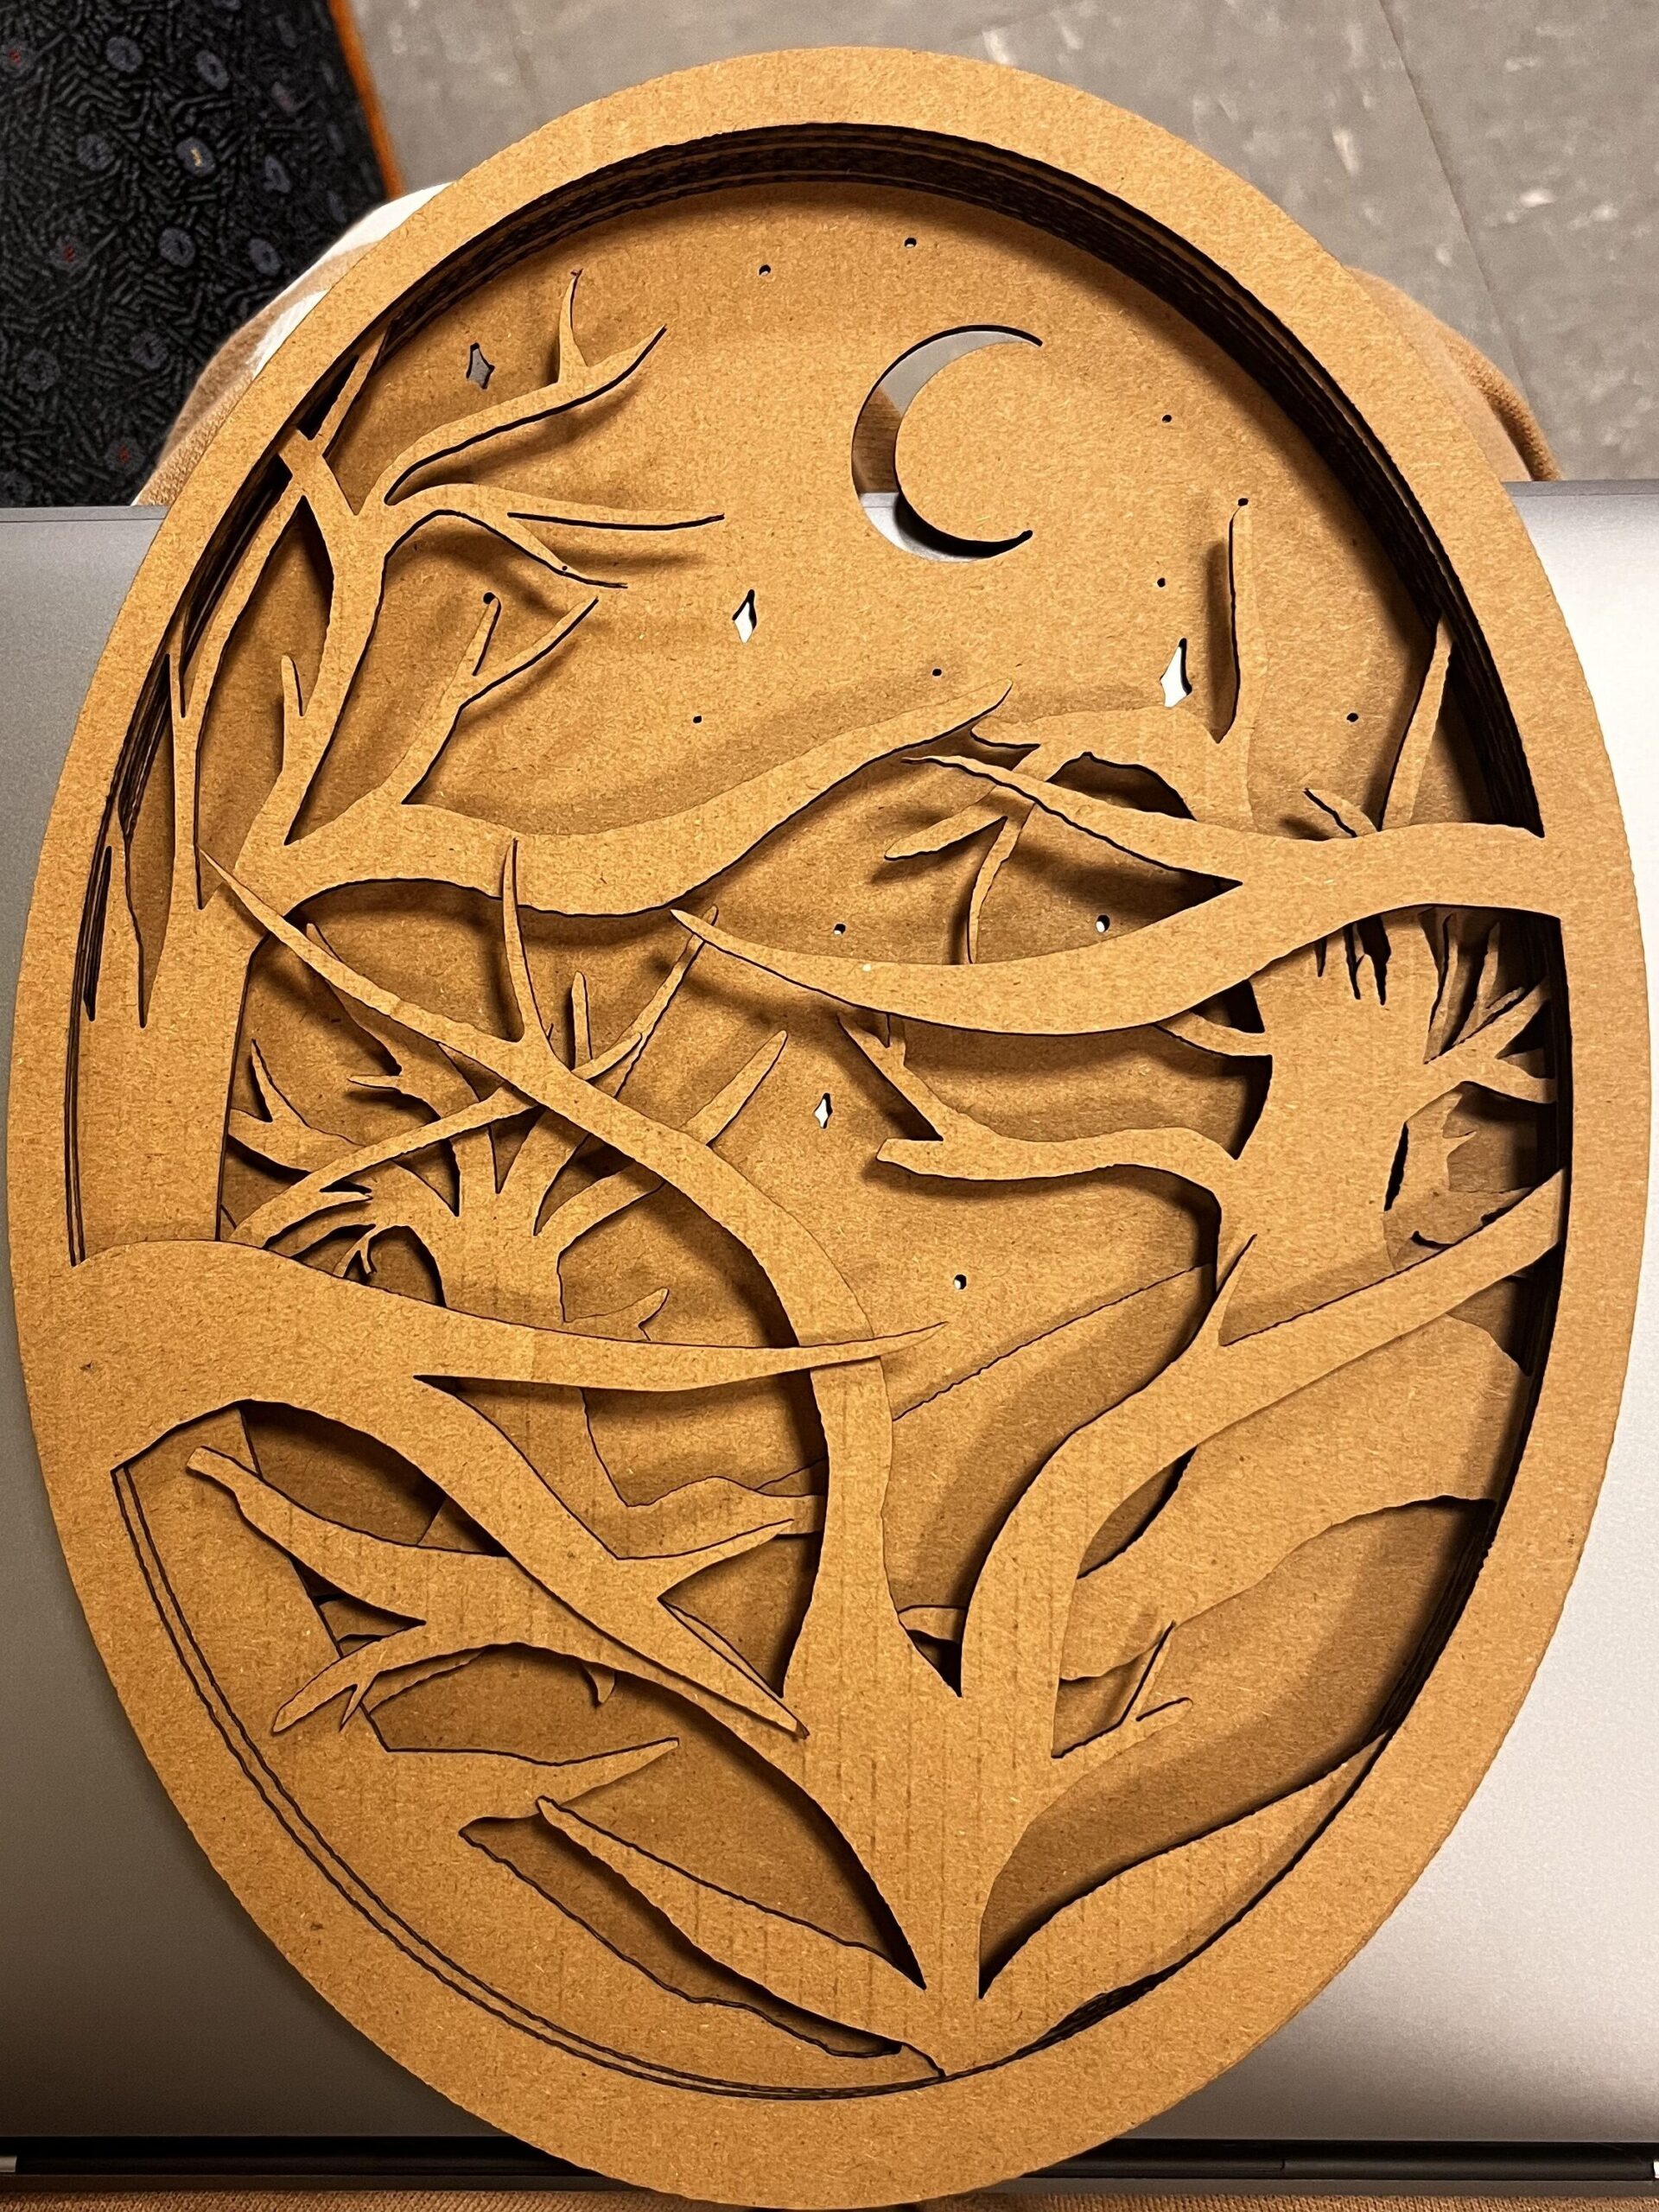
When all of your layers are cut, paint them with acrylic paint to accentuate depth. Think about the role color value plays in creating depth.
Neatly assemble the layers using hot glue.
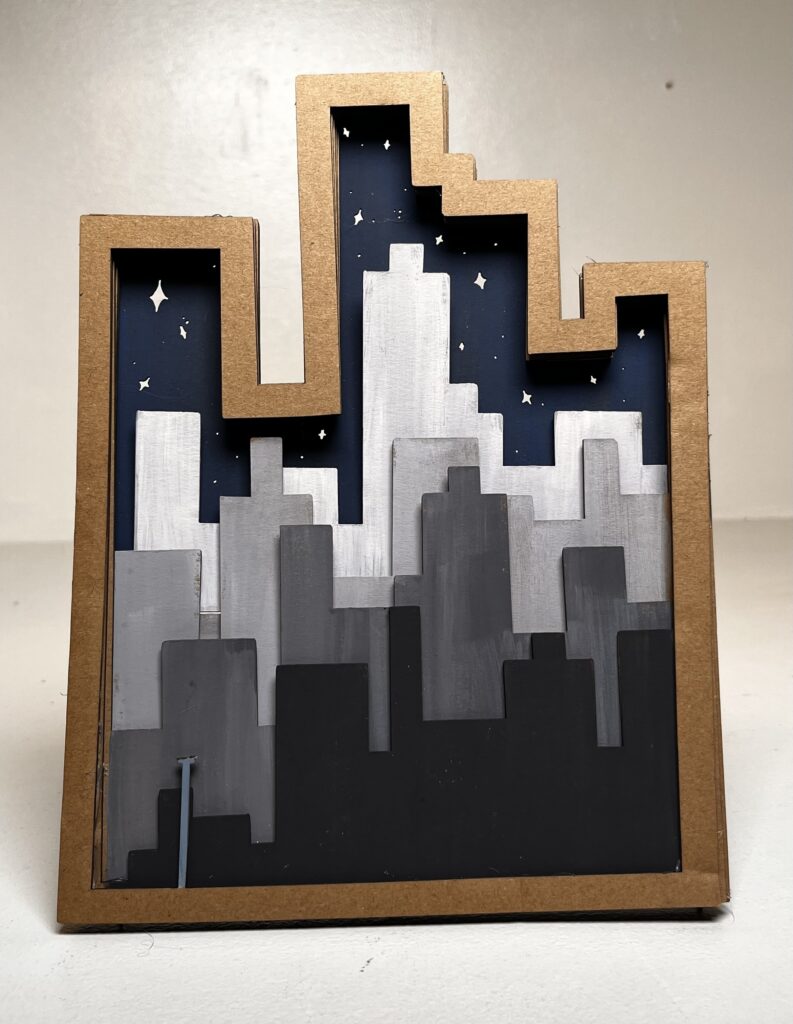
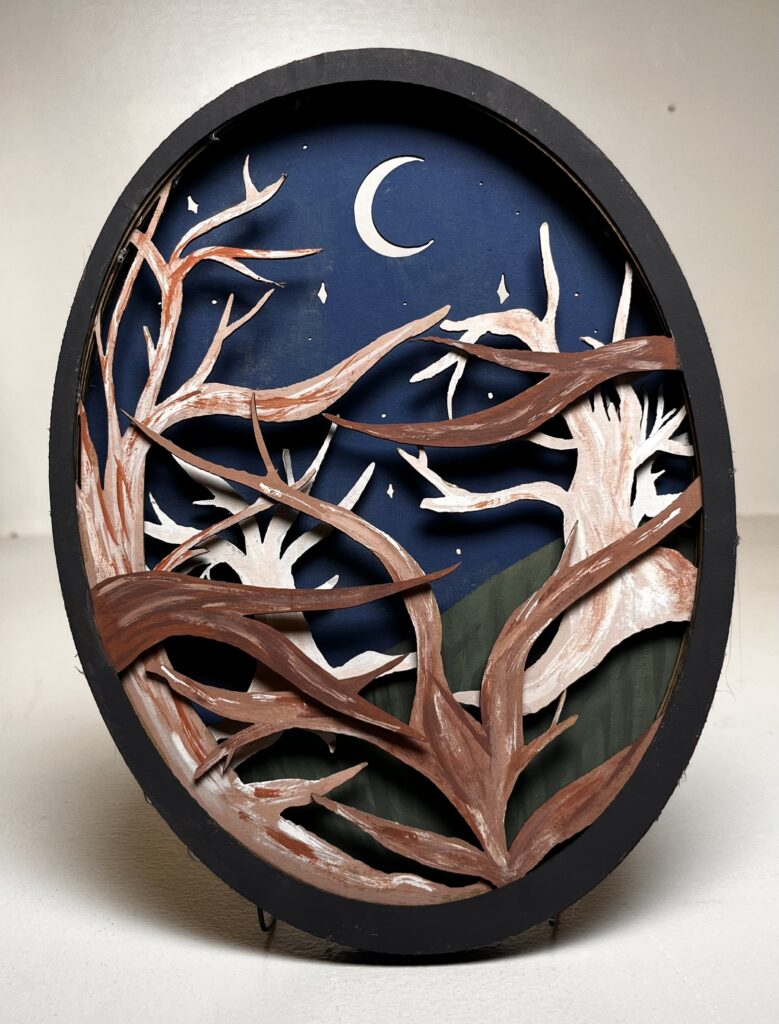
“Late Nights and City Lights” – Ellie Adams
This project had many challenges, I had never really worked with a laser cutter before, and had a lot of hesitation when it came to that step. Some of the small details were erased and a light post I made turned into a telephone pole. Not ideal, but just enough detail to keep it in the piece.
Another small mistake of mine was making the two designs drastically different shapes. The intent was for them to be back to back for a full 3D effect. Although my design does not sit like that, I still believe it achieves the overall concept of the assignment.
The actual drawings I went with were very simple forms. One design had flat and sharp geometric shapes, whilst the other was filled with flowing organic structures. I intentionally used dark to light values on both the city buildings and the trees to add a layer of depth.
There is a lot of texture on the trees to resemble natural bark, and the buildings are smooth grey tones to show a manmade structure. Between the color, form, texture, and detail they are very contrasting pieces. Yet when you look at them together it’s as if they were meant to be seen together.
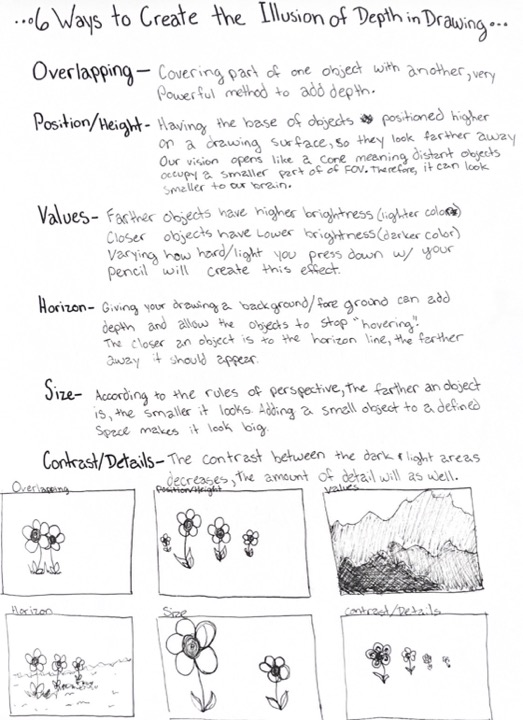
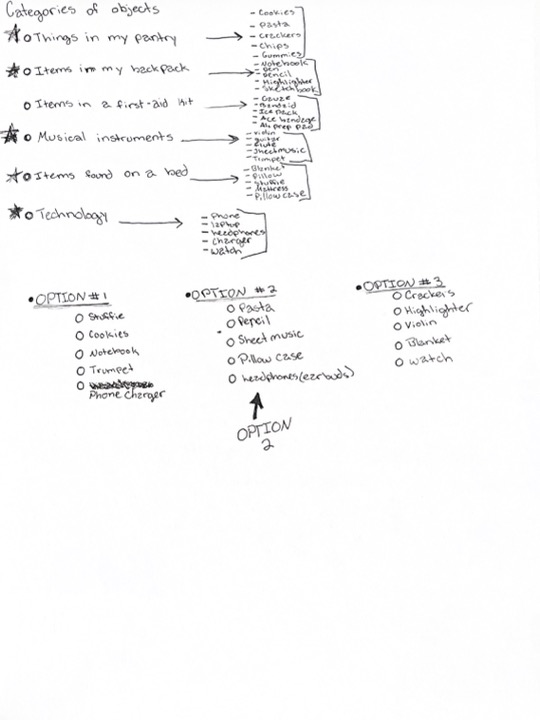
Begin the assignment by researching 6 different ways to create depth in space. Then come up with five categories and list five objects in each. From those groups select one object in each and come up with a contrasting drawing that includes a variety or forms. At least one object should repeat 3 times. Create Depth using four of the six methods you researched previously, and make sure there is no grounding or cropping being done.
MY PROCESS
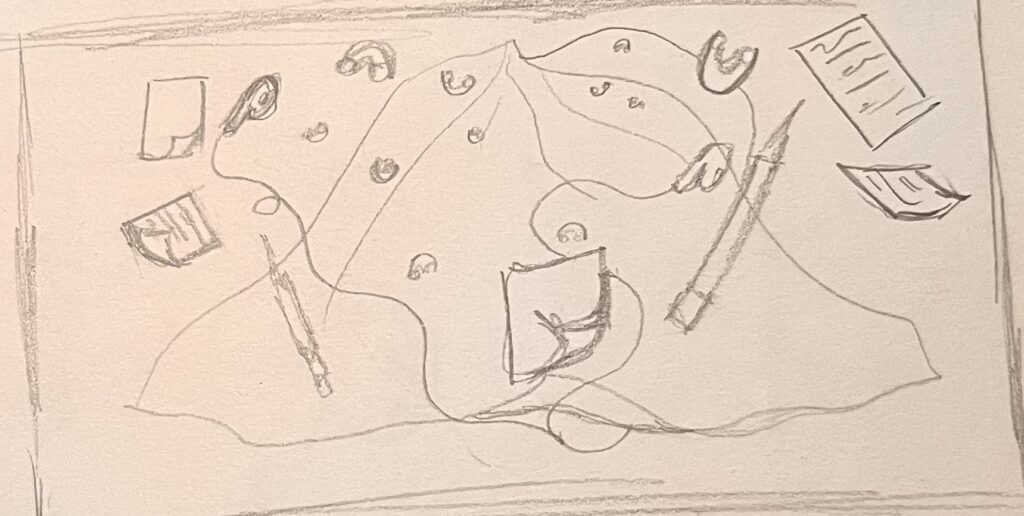
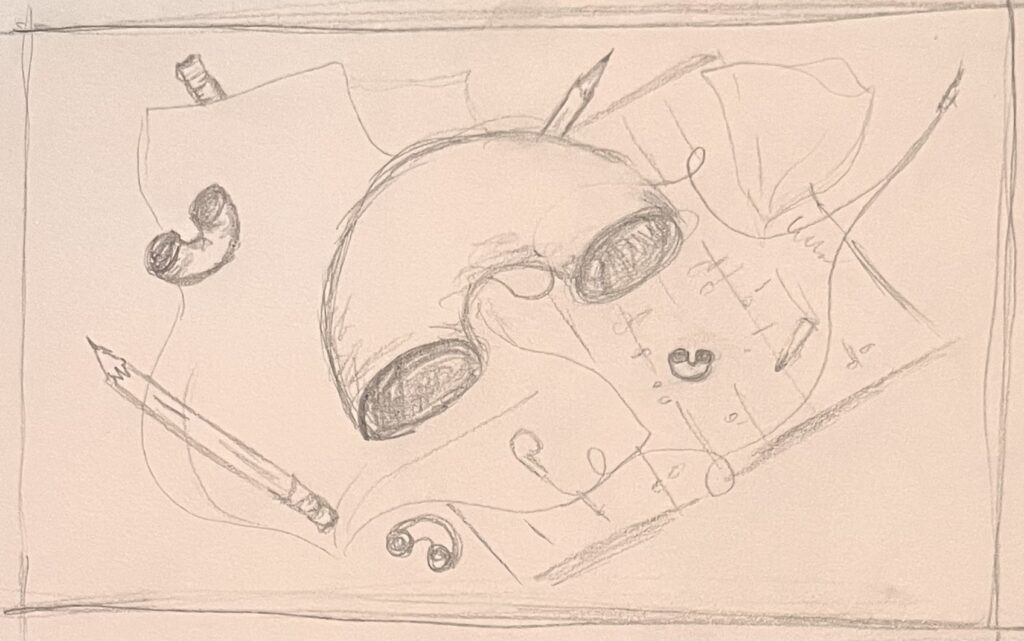
The 5 items I ended up drawing were:
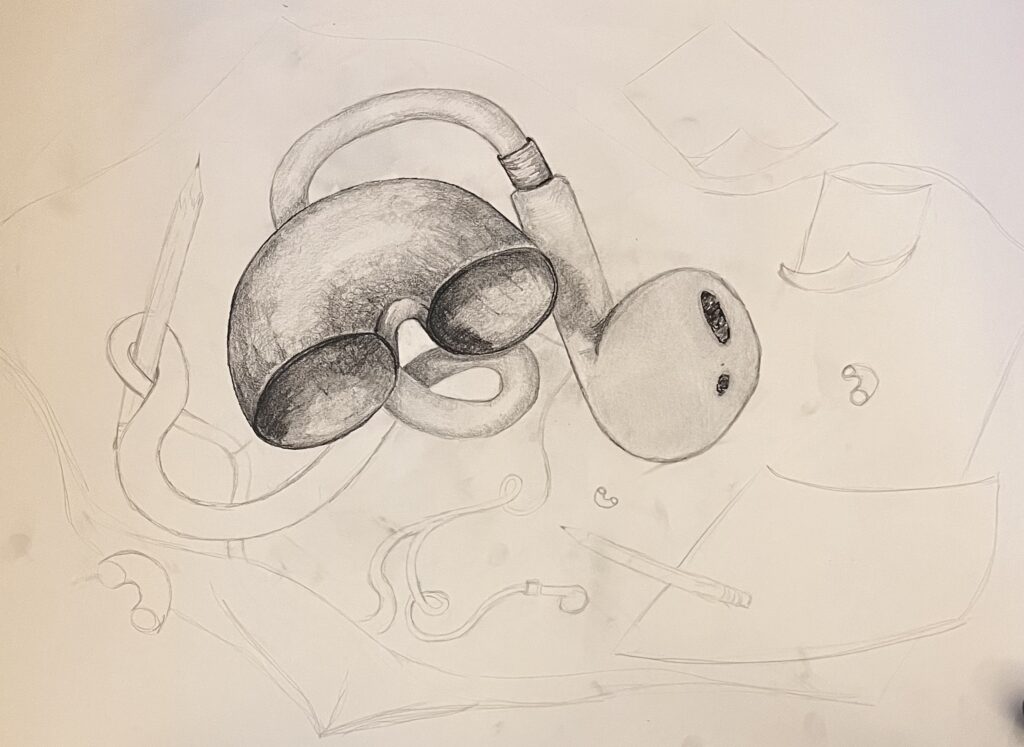
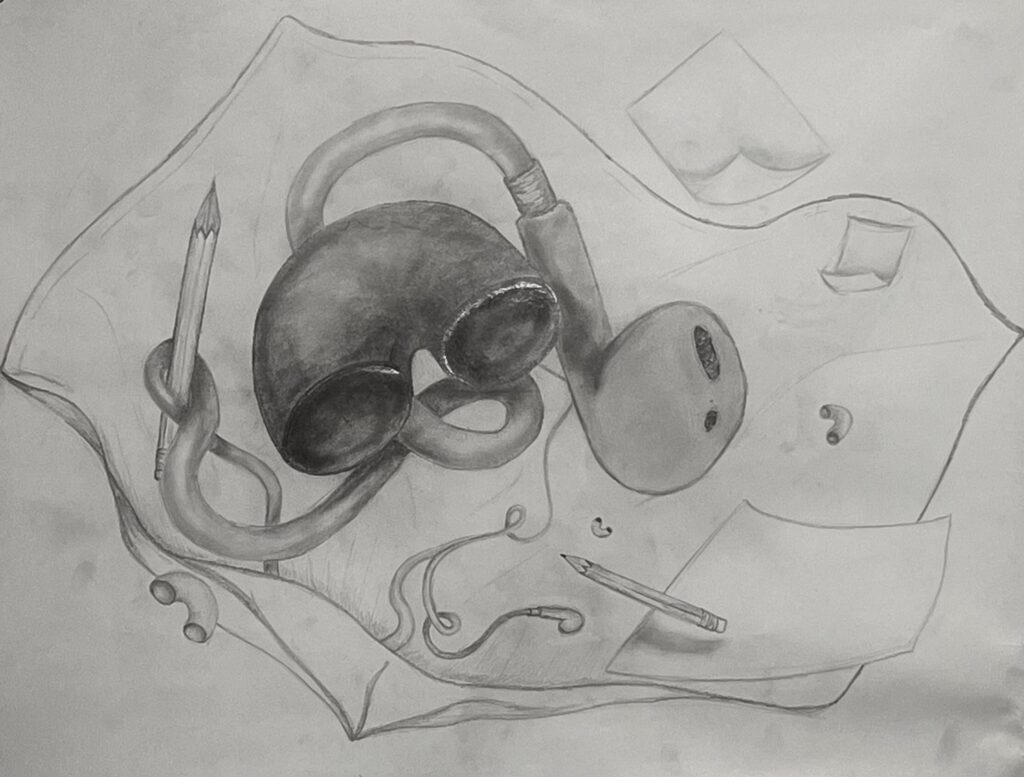
Macaroni, earbuds, pencils, paper, and a blanket.
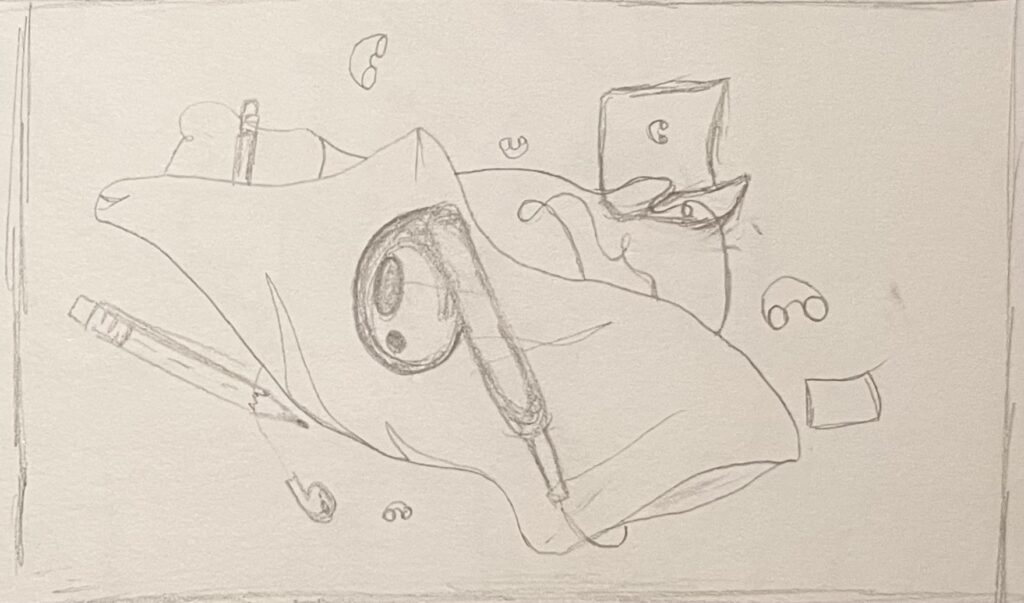
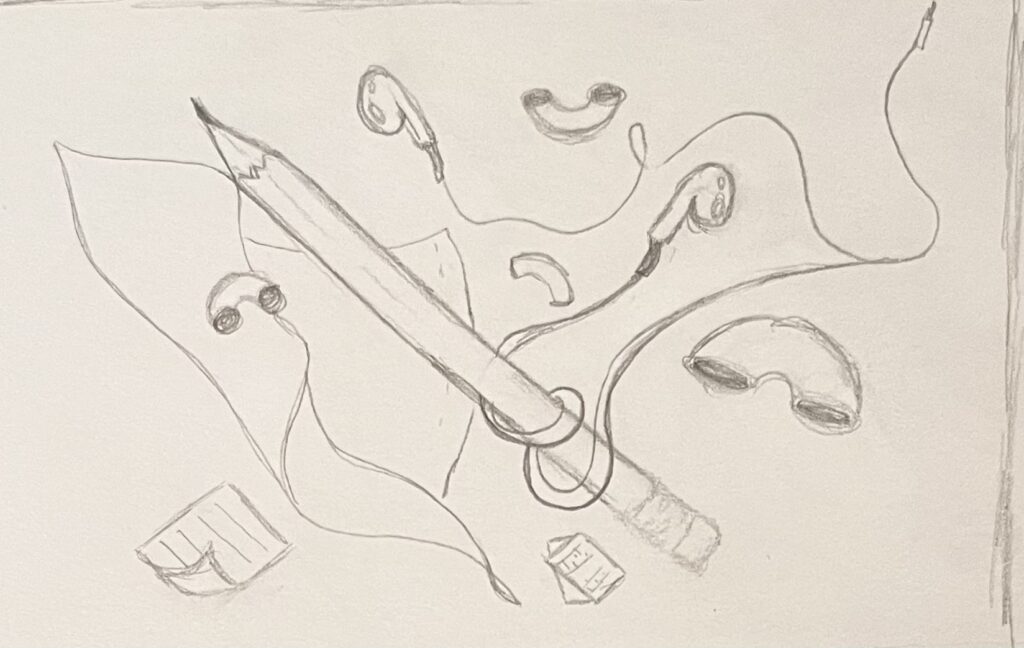
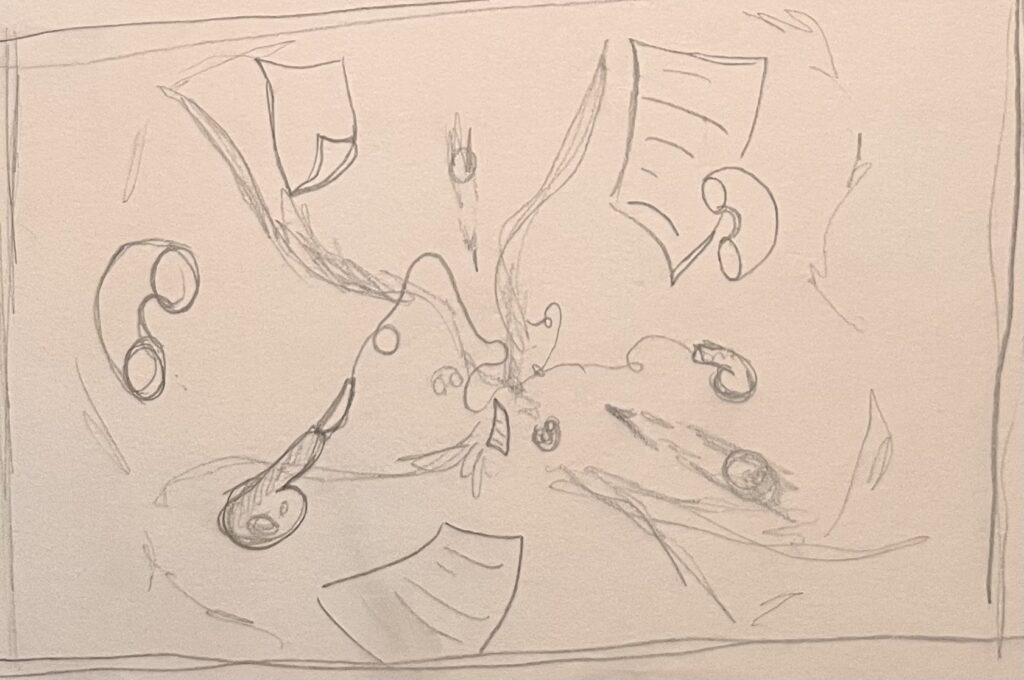
In my composition I included overlapping, Reppetition, Contrast, Values, and different variations of size. There were a total of 5 rough sketches I layed out to see which format fit best. I really wanted an ariel view of all the objects, but the angle made it quite difficult to symbolize depth. Therfore, I ended up angling the view ever so slightly away.
The above drawings show my progress during the making of my composition. The start and end of my final piece is pictured below.
If I were to improve my final composition in any way, I would focus more on utalizing contrasting details. The final piece has a soft look with little to no texture, and could do with some more detailing on the closer objects to add another layer of depth.
The final piece was a combination of two ideas I had in mind. I really wanted to create a feeling of chaos with how the objects were placed and play around with the idea of making a small objects really large. I believe this composition could be even stronger if I added darker values in other objects similar to the macaroni.